Setting contacts as marketing contacts in HubSpot is a crucial step for targeted marketing efforts. It allows you to distinguish between contacts who have opted in to receive marketing communications and those who haven't. In this step-by-step guide, we'll walk you through the process of setting a contact as a marketing contact in HubSpot, from understanding the concept to implementing it effectively.
Introduction to Marketing Contacts in HubSpot
In HubSpot, contacts are divided into two categories: marketing contacts and non-marketing contacts. Marketing contacts are those who have opted in to receive marketing communications from your business, such as emails, ads, or other promotional content. Non-marketing contacts, on the other hand, are those who have not explicitly agreed to receive marketing materials.
Setting up marketing contacts is crucial for targeted marketing efforts because it allows you to:
- Comply with legal requirements and avoid sending unsolicited marketing communications
- Tailor your marketing messages to an engaged audience, increasing the likelihood of conversion
- Manage your contact tier limit and subscription costs effectively
By properly categorizing your contacts as marketing or non-marketing, you can ensure that your marketing efforts are focused on the right audience and that you're not wasting resources on contacts who are unlikely to engage with your content. Data enrichment can further improve your contact management strategy.
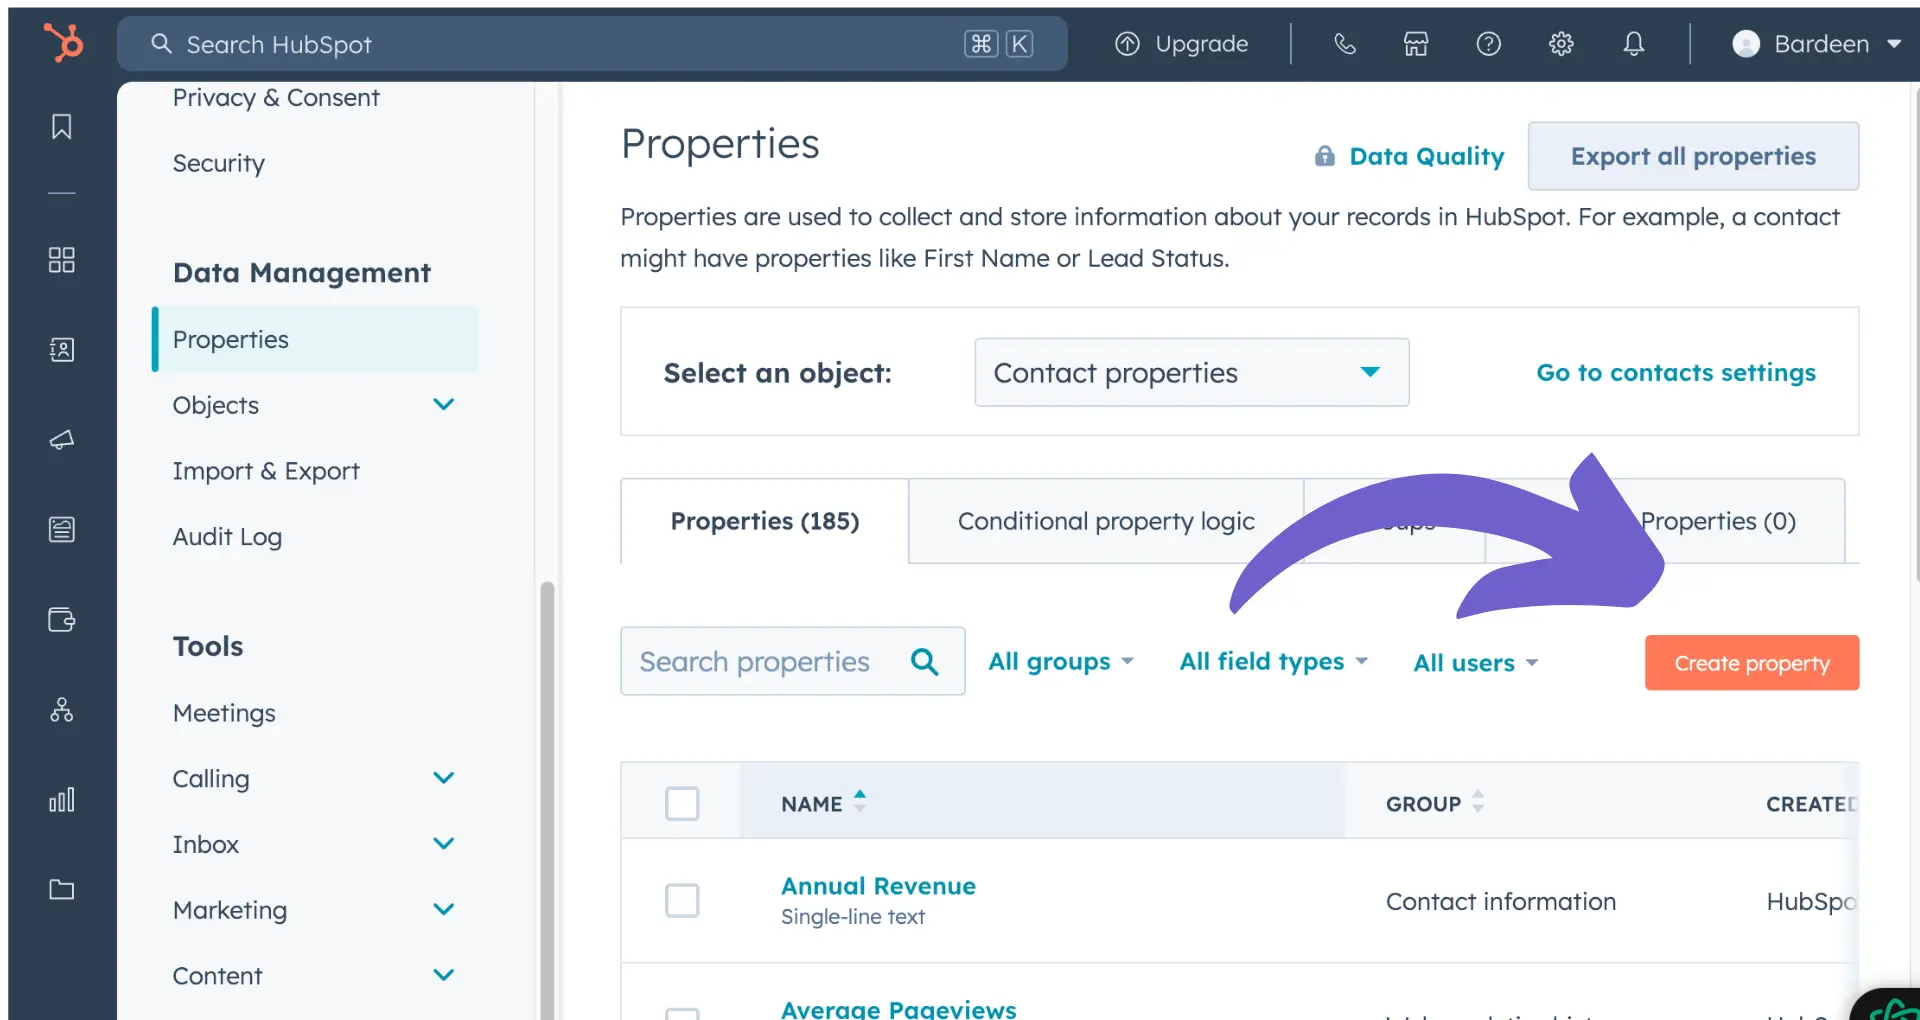
Checking Your Access to Marketing Contacts
Before you can start setting contacts as marketing contacts in HubSpot, you need to ensure that your account has access to this feature. Here's how to check:
- In your HubSpot account, click your account name in the top right corner, then click "Account & Billing."
- Under the "Products & Add-ons" section, look for your Marketing Hub subscription.
- If your subscription shows "Marketing Contacts," then you have access to this feature and can proceed with setting contacts as marketing.
- If you don't see "Marketing Contacts" listed, your account may not have access. In this case, reach out to HubSpot support (for Starter accounts) or your Customer Success Manager (for Professional and Enterprise accounts) to request access.
It's important to note that not all HubSpot accounts have marketing contacts enabled by default, especially if you purchased your Marketing Hub subscription before this feature was introduced. Checking your access is the first step to ensuring you can effectively categorize your contacts for targeted marketing efforts.
Save time and effort by automating repetitive tasks with Bardeen. Focus on what matters most.
Default Settings for Marketing Contacts
When a new contact is created in HubSpot, it is automatically categorized as either a marketing or non-marketing contact based on the tool or method used to create the contact. Here's an overview of how this works:
- Most tools, such as imports, logging emails, and using the mobile app, will set new contacts as non-marketing by default.
- Some tools, like HubSpot forms and chatflows, can be customized to set the default marketing status for new contacts created through those tools.
To customize the default marketing status for tools that allow it, follow these steps:
- Navigate to the settings for the specific tool (e.g., a particular form or chatflow).
- Look for the option to set the default marketing status, usually a toggle switch.
- Turn the switch on to set new contacts as marketing by default, or off for non-marketing.
- Save your changes.
It's important to note that changing the default setting for a tool will only affect new contacts created after the change. Existing contacts will retain their current marketing or non-marketing status unless manually updated.
For more tips on managing contacts, check out cold leads vs warm leads.
Manually Setting a Contact as Marketing
To manually change a contact's status to marketing within the HubSpot interface, follow these steps:
- Navigate to your HubSpot account and go to the Contacts section.
- Find the contact you want to set as a marketing contact and click on their name to open their contact record.
- In the contact record, look for the "Marketing Contact Status" field.
- Click the dropdown menu and select "Marketing Contact".
- Save the changes to the contact record.
It's important to understand the implications of setting a contact as a marketing contact:
- Marketing contacts count towards your billable contact tier limit.
- Once set as marketing, a contact will remain a marketing contact until the next update date, even if you change their status back to non-marketing.
- Increasing the number of marketing contacts may result in additional charges if you exceed your current contact tier limit.
To avoid unexpected charges, regularly monitor your marketing contact count and contact tier limit in the Account & Billing section of your HubSpot settings. For more detailed lead information, consider lead enrichment and qualification automation.
Save time by using Bardeen's lead enrichment tools. They automate your contact updates, reducing manual work and keeping your data precise.
Automating Marketing Contact Designations
HubSpot offers several ways to automate the process of setting contacts as marketing contacts, saving you time and effort. Here are two main methods:
- Using Forms
- When creating a form in HubSpot, contacts who submit the form are automatically set as marketing by default.
- This setting applies to all forms, but can be adjusted for individual forms if needed.
- Even existing non-marketing contacts will be set as marketing upon submitting the form.
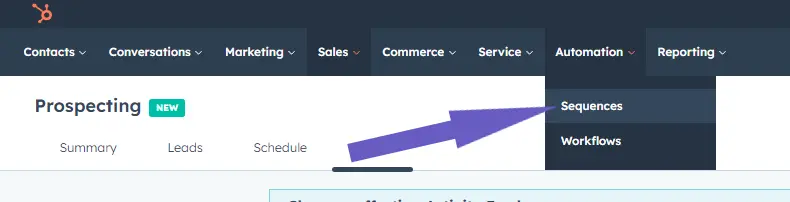
- Using Workflows (Professional and Enterprise only)
- Create a contact-based workflow that sets a contact's marketing status based on specific property values.
- In the workflow editor, add a "Set marketing contact status" action and select "Set as marketing" as the value.
- Contacts who meet the enrollment triggers will be set as marketing when they pass through this action.
Some examples of triggers and conditions that could be used to automate marketing statuses include:
- Lifecycle stage changes (e.g., when a contact becomes a Marketing Qualified Lead)
- Engagement with specific marketing assets (e.g., opening a marketing email or clicking a link)
- Demographic or firmographic data (e.g., company size, industry, or job title)
- Behavioral data (e.g., visiting specific pages on your website or spending a certain amount of time on your site)
By automating your marketing contact designations, you can ensure that the right contacts are being targeted with your marketing efforts, while also keeping your contact database organized and up-to-date. For more tips, check out how to automate sales prospecting.
Monitoring and Managing Marketing Contacts
To effectively manage your marketing contacts and stay within your contact tier limits, it's important to regularly monitor your marketing contact count. Here are some tips:
- Check your marketing contact count regularly
- In your HubSpot account, navigate to Settings > Account & Billing.
- Under the Billing Information section, you'll see your current marketing contact count and tier limit.
- You can also create a custom dashboard report to track your contacts over time.
- Set up notifications
- HubSpot sends email notifications when you reach 90%, 95%, and 100% of your contact tier limit.
- You can also set up custom notifications for specific thresholds using workflows.
- Manage your non-marketing contacts
- Regularly review and clean your non-marketing contacts to ensure they still don't need to be marketed to.
- If a non-marketing contact becomes qualified for marketing, update their status to make the most of your marketing efforts.
- Plan for growth
- If you consistently approach your contact tier limit, consider upgrading to the next tier to accommodate growth.
- Communicate with stakeholders to ensure your contact tier aligns with your marketing goals and budgets.
Use Bardeen for personalized outreach and smoothly handle your contacts with AI-powered tools, saving you time for essential marketing tasks.
If you exceed your contact tier limit, HubSpot will automatically upgrade you to the next tier and charge a prorated amount for the remainder of the billing period. To prevent automatic upgrades and charges:
- Monitor your marketing contact count closely, especially as you approach your limit.
- Pause or adjust marketing activities that may push you over the limit, such as importing large contact lists or setting non-marketing contacts to marketing.
- Consider temporarily setting some marketing contacts to non-marketing if they don't need to be actively marketed to.
By proactively monitoring and managing your marketing contacts, you can make the most of your marketing efforts while staying within your budget and contact tier limits.
Tools and Integrations That Enhance Marketing Contact Management
HubSpot offers a suite of tools that work seamlessly with marketing contacts, enabling you to create targeted campaigns and streamline your marketing efforts. Some of these tools include:
- Marketing emails
- Create, personalize, and send emails to your marketing contacts.
- Segment your contacts based on properties and behaviors for targeted email campaigns.
- Monitor email performance and optimize your strategy based on data insights.
- Ads tools
- Create and manage ad campaigns across various platforms like Google, Facebook, and LinkedIn.
- Use your marketing contacts to build targeted audiences for your ads.
- Analyze ad performance and adjust your targeting and budget accordingly.
- Workflows
- Automate marketing actions based on contact properties and behaviors.
- Enroll marketing contacts in lead nurturing campaigns and other automated sequences.
- Update contact properties and statuses based on workflow criteria.
Integrating these tools with your marketing contacts allows you to:
- Create a seamless, personalized customer journey across multiple channels.
- Save time and resources by automating repetitive marketing tasks.
- Ensure compliance with your contact tier limits by only targeting marketing contacts.
- Gather valuable data insights to refine your marketing strategy and improve ROI.
Additionally, HubSpot's App Marketplace offers a wide range of third-party integrations that can further enhance your marketing contact management. Some popular integrations include:
- Salesforce: Sync your marketing contacts between HubSpot and Salesforce for a unified view of your customer data.
- Eventbrite: Automatically add event attendees to your HubSpot marketing contacts and create targeted follow-up campaigns.
- SurveyMonkey: Collect valuable feedback from your marketing contacts and use the data to inform your marketing decisions.
By leveraging HubSpot's native tools and third-party integrations, you can create a powerful, data-driven marketing strategy that maximizes the value of your marketing contacts while staying within your subscription limits.