Clearbit is a powerful data enrichment tool that integrates with various platforms, including Outlook and Salesforce, to provide additional information about contacts and leads. However, there may come a time when an organization needs to remove Clearbit from their systems, whether due to changing business needs, data privacy concerns, or simply moving to a different solution. In this step-by-step guide, we'll walk you through the process of removing Clearbit from both Outlook and Salesforce, ensuring a clean and thorough uninstallation.
Introduction to Removing Clearbit
Clearbit is a data enrichment tool that integrates with platforms like Outlook and Salesforce to provide additional information about contacts and leads. It helps sales and marketing teams gather valuable insights to personalize their outreach and improve conversion rates. However, there may be situations where an organization needs to remove Clearbit from their systems.
Reasons for removing Clearbit include:
- Switching to a different data enrichment solution
- Reducing costs by eliminating unused tools
- Addressing data privacy concerns or compliance requirements
- Simplifying the tech stack and streamlining processes
Clearbit integrates with Outlook through a browser extension or add-in, allowing users to access enriched contact information directly within their email client. In Salesforce, Clearbit is installed as a package and syncs data between the two platforms. Understanding these integration points is crucial for a smooth removal process.
Uninstalling Clearbit from Outlook
To remove the Clearbit add-in from Outlook, follow these steps:
- Open Outlook and click on the "File" tab in the top-left corner of the screen.
- Select "Options" from the list on the left side of the window.
- In the Outlook Options window, click on "Add-ins" in the left-hand menu.
- Locate the Clearbit add-in in the list of active add-ins.
- Select the Clearbit add-in and click "Remove" at the bottom of the window.
- Click "OK" to confirm the removal and close the Outlook Options window.
- Restart Outlook for the changes to take effect.
If you have trouble locating the Clearbit add-in, try the following:
- Check if the add-in is disabled by selecting "Disabled Items" from the "Manage" dropdown menu in the Add-ins window.
- If found in disabled items, select the Clearbit add-in and click "Remove".
After completing these steps, the Clearbit add-in will be uninstalled from your Outlook application. For more help with managing your emails, consider using AI email management tools.
Bardeen makes managing your emails easier. Use these AI email management tools to save time and stay organized.
Navigating Salesforce to Remove Clearbit
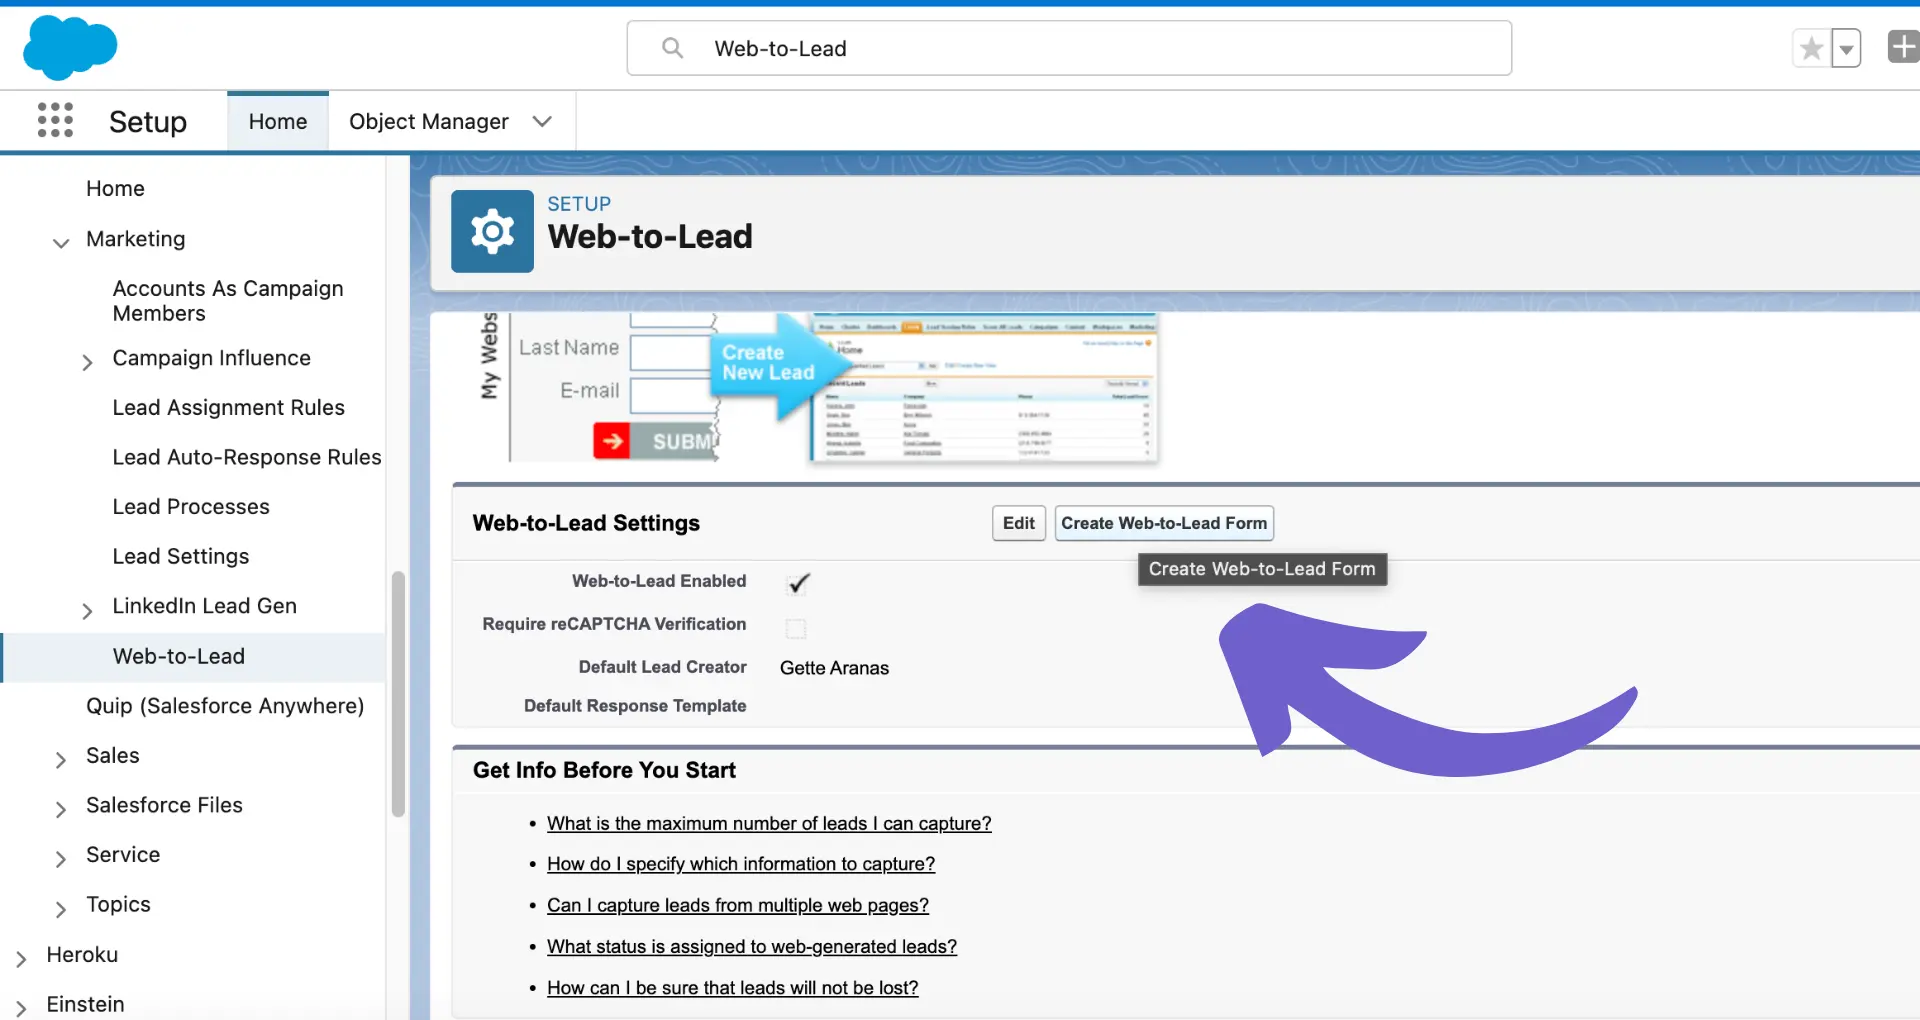
To uninstall the Clearbit package from your Salesforce instance, follow these steps:
- Log in to your Salesforce account and navigate to the Setup menu.
- In the Quick Find search box, type "Installed Packages" and select it from the results.
- Locate the Clearbit package in the list of installed packages.
- Click on the "Uninstall" link next to the Clearbit package.
- Salesforce will display a confirmation message. Click "OK" to proceed with the uninstallation.
If you encounter any errors during the uninstallation process, Salesforce will provide instructions to resolve them. Common issues include:
- Removing Clearbit components from active processes, workflows, or formulas.
- Removing the Clearbit widget from page layouts.
- Ensuring no users have the Clearbit User Permissions permission set assigned.
For a smoother data transition, consider using tools to integrate Google Sheets with Salesforce. Once you have addressed any errors, attempt the uninstallation process again. After successfully uninstalling the package, the Clearbit integration will be removed from your Salesforce instance.
Handling Dependencies and Data Sync Issues
Before uninstalling Clearbit from Salesforce, it's crucial to consider potential dependencies that may be affected by the removal process. Take the following steps to ensure a smooth transition:
- Identify any custom fields, objects, or processes that rely on Clearbit data. Make necessary adjustments to ensure they continue to function correctly after the removal.
- Review active workflows, formulas, and validation rules that reference Clearbit fields. Update or remove them as needed to prevent errors.
- Check if any third-party apps or integrations depend on Clearbit data. Contact support for guidance on how to proceed.
Data synchronization issues may arise after removing Clearbit from Salesforce. To minimize disruptions:
- Perform a full data backup before starting the uninstallation process.
- Verify that all Clearbit data has been successfully migrated to Salesforce fields before removal.
- Monitor data integrity post-removal and address any inconsistencies promptly.
By carefully assessing dependencies and planning for data synchronization challenges, you can ensure a smooth transition when removing Clearbit from your Salesforce instance. For more tips, see how to build a robust prospect list.
Bardeen can help prevent data sync issues. Try our Excel integration to automate data sync tasks and save time.
Best Practices for a Clean Removal
To ensure a smooth and error-free removal of Clearbit from your systems, follow these best practices:
- Back up your data before making any changes. This includes Salesforce data, Outlook contacts, and any other relevant information that may be affected by the removal process.
- Document your current configuration, including custom fields, workflows and integrations that rely on Clearbit data. This will help you identify any necessary adjustments post-removal.
- Communicate the planned removal to all relevant stakeholders, including sales, marketing, and customer success teams. Ensure they are prepared for any temporary disruptions and have alternative processes in place.
- Perform the removal during a low-traffic period to minimize the impact on business operations. Ideally, schedule the removal outside of business hours or on weekends.
- Test the removal process in a sandbox environment before applying it to your production instance. This allows you to identify and address any potential issues without affecting live data.
By following these best practices, you can minimize the risk of data loss, system instability, and business disruption when removing Clearbit from your Outlook and Salesforce environments. For more tips on sales processes, check out how to prepare for a sales call.
Post-Removal Steps and Verification
After uninstalling Clearbit from Outlook and Salesforce, it's crucial to verify that the removal process was successful and no remnants of the integration remain. Follow these steps:
- Check your Outlook add-ins list to confirm that Clearbit is no longer present. If it still appears, try restarting Outlook and checking again.
- In Salesforce, navigate to the installed packages section and ensure that the Clearbit package is no longer listed. If it persists, double-check that you've completed all the necessary uninstallation steps.
- Test your Outlook and Salesforce functionality to ensure that removing Clearbit hasn't affected any critical processes or workflows. Pay close attention to any custom fields, automations, or integrations that previously relied on Clearbit data.
- Verify that Clearbit data is no longer being synced or updated in your Salesforce records. Spot-check a few accounts, contacts, and leads to confirm that Clearbit-sourced information is no longer present or being refreshed.
- Communicate with your team to ensure everyone is aware that Clearbit has been removed and provide guidance on any changes to processes or data management practices. For example, you can use tools to automate outreach without Clearbit.
By thoroughly verifying the successful removal of Clearbit from your systems, you can confidently move forward without any lingering dependencies or potential issues related to the discontinued integration.
Save time on outreach and follow-ups using Bardeen's automation tools. Automate repetitive tasks and focus on what matters most to your business.


