Efficiently Insert Multiple Rows in Google Sheets - 4 Methods

LAST UPDATED
June 6, 2024
Jason Gong
TL;DR

Select rows, right-click, and choose Insert # rows above or below.

By the way, we're Bardeen, we build a free AI Agent for doing repetitive tasks.

If you're managing data in Google Sheets, you might love our GPT in Spreadsheets feature. It automates data entry, formatting, and more, making your work easier.

Managing and organizing data in Google Sheets is crucial for maintaining a well-structured spreadsheet. One essential aspect of data management is the ability to insert multiple rows quickly and efficiently. In this step-by-step guide, we'll explore various methods to insert multiple rows in Google Sheets, helping you keep your data organized and easy to navigate.

Introduction to Google Sheets Row Management

Efficient data management and organization are essential when working with Google Sheets. Properly structured data allows for easier analysis, collaboration, and decision-making. One fundamental aspect of data management in Google Sheets is the ability to insert and manipulate rows.

In Google Sheets, a row is a horizontal line of cells that spans from left to right across the spreadsheet. Each row is identified by a unique number, starting with 1 at the top of the sheet. Rows are used to organize and categorize data, making it easier to read and understand.

There are several reasons why you might need to insert multiple rows in Google Sheets:

  • Adding new data points or records
  • Separating data into distinct sections
  • Creating space for calculations or formulas
  • Improving the overall readability and organization of your spreadsheet

By mastering the techniques to quickly insert multiple rows, you can bring AI into your spreadsheet and work more efficiently in Google Sheets.

Using the Menu Option to Insert Rows

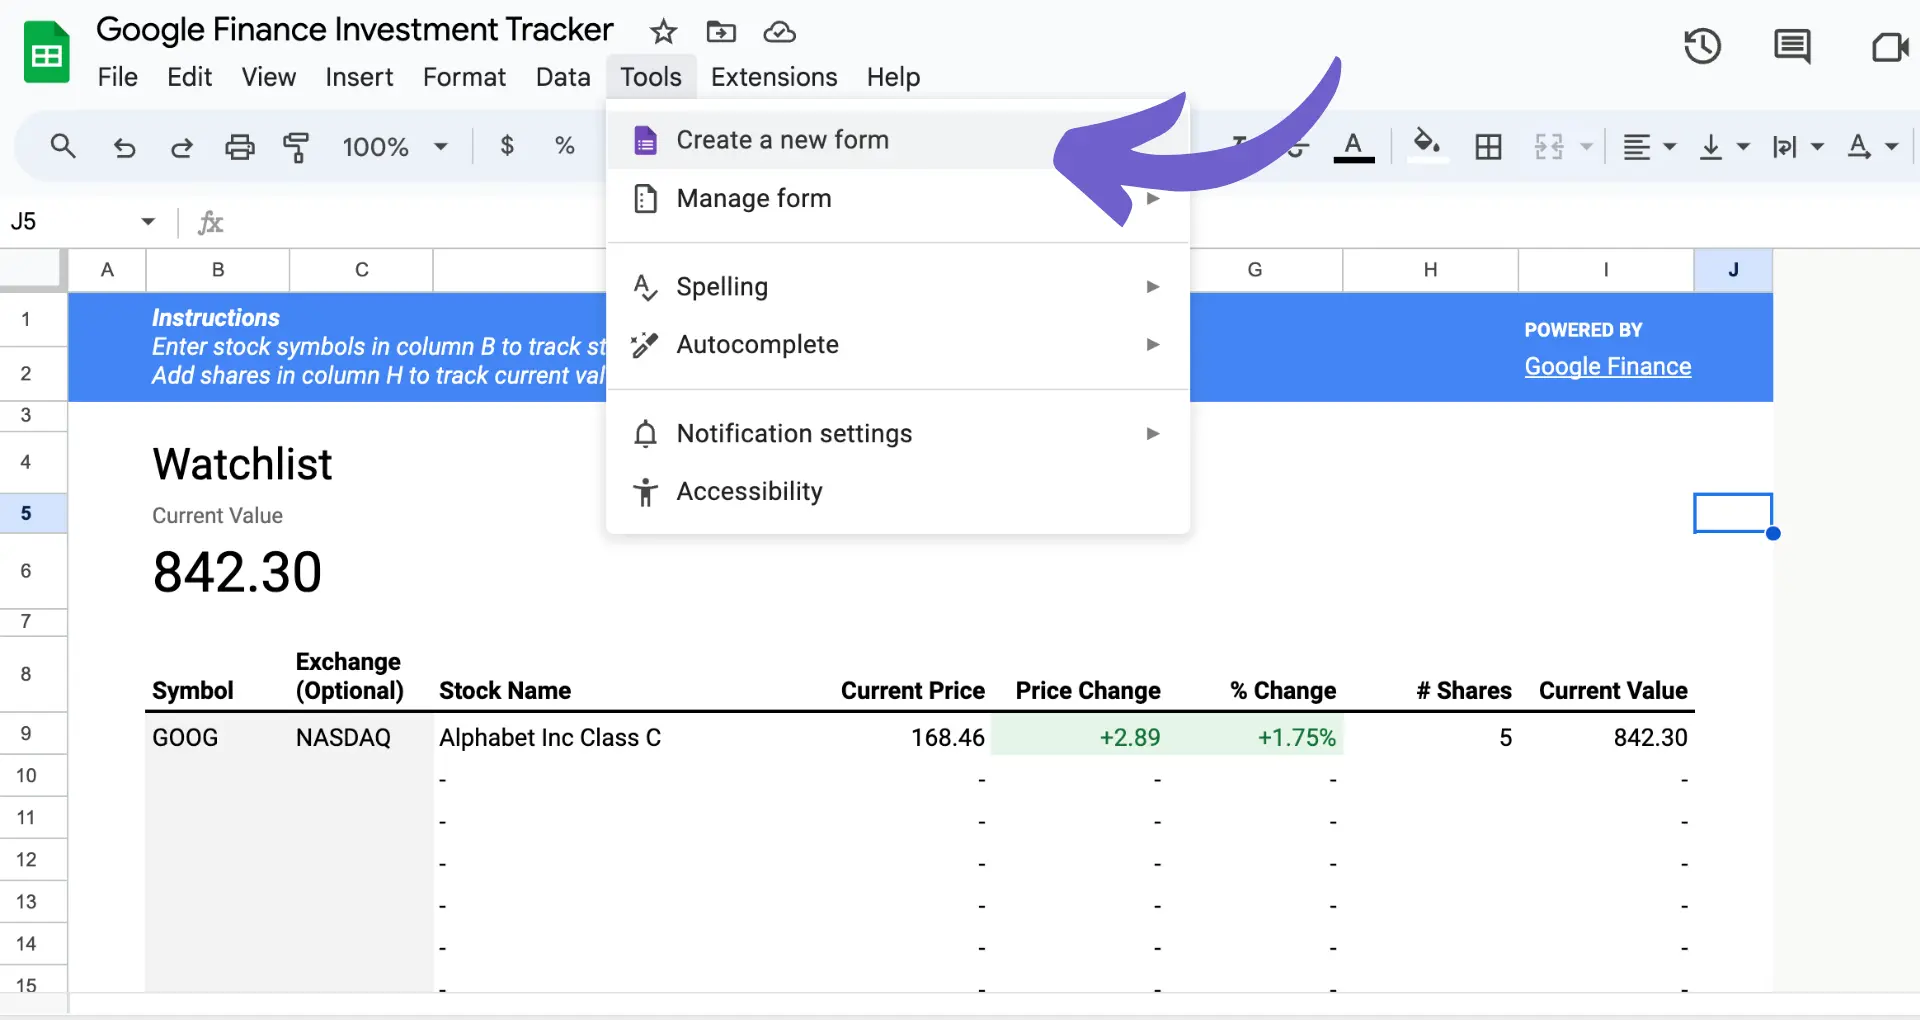
To insert multiple rows using the Google Sheets menu bar, follow these steps:

  1. Select the row below where you want to insert the new rows by clicking on the row number.
  2. If you want to insert multiple rows, select the same number of rows as the number you wish to insert.
  3. Right-click on the selected row(s) to open the context menu.
  4. From the context menu, choose "Insert # rows above" (replace # with the number of selected rows).

Alternatively, you can use the menu bar at the top of the screen:

  1. Select the row(s) where you want to insert new rows.
  2. Click on the "Insert" menu in the top menu bar.
  3. Hover over the "Rows" option.
  4. Choose "Insert # rows above" or "Insert # rows below" depending on your preference (replace # with the number of selected rows).

By following these steps, you can easily insert the desired number of rows in the specific location within your Google Sheets spreadsheet.

Using Bardeen, you can automate adding rows in Google Sheets and save time on repetitive tasks.

Right-Click Context Menu for Quick Row Insertion

Using the right-click context menu is a convenient and quick way to insert rows in Google Sheets. This method saves time and effort, especially when you need to make frequent row insertions. Here's how to do it:

  1. Select the row or rows where you want to insert new rows by clicking on the row number(s).
  2. Right-click on the selected row(s) to open the context menu.
  3. From the context menu, choose one of the following options:
    • "Insert 1 row above" to add a single row above the selected row(s)
    • "Insert 1 row below" to add a single row below the selected row(s)
    • "Insert # rows above" to add multiple rows above the selected row(s)
    • "Insert # rows below" to add multiple rows below the selected row(s)

The right-click context menu provides a swift and efficient way to insert rows without having to navigate through the top menu bar. You can also connect Google Docs to streamline your workflow even more.

Keyboard Shortcuts for Efficient Row Insertion

Keyboard shortcuts can significantly streamline the process of inserting multiple rows in Google Sheets, saving you time and effort. Here are some specific key combinations for both Windows and Mac users:

  • Windows:
    • Ctrl + Alt + Shift + = (with rows selected): Insert rows above
    • Alt + i, then r, then r: Insert rows above
    • Alt + i, then r, then b: Insert rows below
  • Mac:
    • ⌘ + Option + = (with rows selected): Insert rows above
    • Ctrl + Option + i, then r, then r: Insert rows above
    • Ctrl + Option + i, then r, then b: Insert rows below

By using these keyboard shortcuts, you can quickly add new rows to your spreadsheet without having to navigate through menus or use your mouse. This is particularly useful when working with large datasets or when you need to make frequent row insertions. For more advanced automation, consider using Bardeen with Excel to connect and automate your spreadsheet workflows.

Organize your Google Drive files easily by using Bardeen to connect Google Drive with other apps. Save time and make sure your files are right where you need them, when you need them.

Advanced Techniques: Using Google Sheets Macros

Macros in Google Sheets are powerful tools that can automate repetitive tasks, such as inserting multiple rows efficiently. By recording a series of actions and saving them as a macro, you can execute these actions with a single click or keyboard shortcut.

To create a macro for inserting rows:

  1. Go to Tools > Macros > Record macro.
  2. Perform the actions you want to automate, such as inserting rows using the methods described earlier.
  3. Stop the recording by clicking the "Stop" button or going to Tools > Macros > Stop recording.
  4. Give your macro a name and assign a keyboard shortcut if desired.
  5. Click "Save" to store the macro.

Now, whenever you need to insert multiple rows, simply run the macro by going to Tools > Macros > Your macro name, or by using the assigned keyboard shortcut.

For more advanced users, you can also create custom macros using Google Apps Script for web scraping. Here's a basic example that inserts a new row between two specific values in a column:

function insertRowBetween() { var sheet = SpreadsheetApp.getActiveSheet(); var range = sheet.getRange("A:A"); var values = range.getValues(); for (var i = 0; i < values.length; i++) { if (values[i][0] == "Value1" && values[i+1][0] == "Value2") { sheet.insertRowAfter(i+1); break; } } }

This script searches for two specific values in column A and inserts a new row between them. You can modify the script to suit your specific needs and assign it to a custom menu or keyboard shortcut for easy access.

Troubleshooting Common Issues While Inserting Rows

While inserting rows in Google Sheets is generally a straightforward process, users may sometimes encounter issues. Here are some common problems and their solutions:

  1. Protected ranges: If you're unable to insert rows in a specific area of your sheet, it may be due to protected ranges. To resolve this, go to Data > Protected sheets and ranges, and either remove the protection or give the user permission to edit the protected range.
  2. Shared spreadsheets: When working with shared spreadsheets, ensure that you have the necessary permissions to insert rows. If you're still facing issues, try asking the owner to double-check your access rights.
  3. Large datasets: If you're working with a large dataset and find that Google Sheets freezes when inserting rows, try splitting your data into smaller, more manageable sheets. You can also try inserting rows in smaller batches or using a web scraper tool to automate the process.
  4. Browser issues: Sometimes, browser-related problems can cause difficulties when inserting rows. Try clearing your browser cache and cookies, or use a different browser to see if the issue persists. Ensure that you're using the latest version of your browser for optimal performance.
  5. Compatibility mode: If you've imported data from another source, such as Microsoft Excel, your sheet might be in compatibility mode, which can limit certain features. To fix this, go to File > Spreadsheet settings and uncheck the "Compatibility mode" option.

If none of these solutions work, try reaching out to the Google Sheets community or contacting Google support for further assistance. By addressing these common issues, you can build a more efficient workflow when inserting rows in Google Sheets.

Make your Google Sheets tasks easier with Bardeen. Try using our web scraper extensions for automated data management.

Automate Google Sheets with Bardeen for Effortless Data Management

While manually inserting multiple rows in Google Sheets is straightforward, automating data management processes can dramatically enhance productivity. Bardeen offers powerful automation capabilities for Google Sheets, enabling seamless data handling and integration with other tools. Automations can save time, reduce manual errors, and ensure your data is always up-to-date.

  1. Find all emails from a list of websites in Google Sheets: This automation streamlines your outreach by extracting emails from a list of websites and saving them directly into Google Sheets. It's a valuable tool for sales teams and marketers looking to build a contact list efficiently.
  2. Add a new row to Google Sheets, when HubSpot contact is created: Sync your CRM and spreadsheet by automatically adding a new row in Google Sheets whenever a new contact is created in HubSpot. Ideal for keeping track of leads and ensuring team access to the latest contact information.
  3. Add row in Google Sheets when Asana task is created: Improve project management by automatically adding tasks from Asana as rows in Google Sheets. This automation ensures real-time updates of tasks, aiding in project tracking and team collaboration.
Contents
Automate Google Sheets with Bardeen AI

Save time by automating repetitive tasks in Google Sheets with Bardeen’s AI Agent.

Get Bardeen free

Related frequently asked questions

How to Add a Campaign in Salesforce: Step-by-Step Guide

Learn how to add a campaign in Salesforce with our detailed guide. Follow our step-by-step instructions to create and manage Salesforce campaigns efficiently.

Read more
Convert Text to Formulas in Google Sheets: A Guide

Learn how to convert text to formulas in Google Sheets using INDIRECT() and Google Apps Script for dynamic data calculations and enhanced spreadsheet functionality.

Read more
Sign Up for HubSpot Academy Without a Company: Easy Steps

Learn how to easily sign up for HubSpot Academy without a company, using placeholders for company name and URL, and access a wide range of courses.

Read more
Add Leads to Salesforce Campaigns: A Step-by-Step Guide

Learn how to add leads to Salesforce campaigns using direct methods, bulk actions, account-based strategies, automation, and Pardot integration for effective management.

Read more
Easy Steps to Share a Salesforce Dashboard - 6 Steps

Learn to share a Salesforce dashboard in 6 easy steps. Understand permissions and access control for effective collaboration and data analysis.

Read more
Guide to Uploading Files in Salesforce: Methods & Tips

Learn how to upload files in Salesforce individually, in bulk, or automate with the REST API. Manage documents efficiently within your CRM.

Read more
how does bardeen work?

Your proactive teammate — doing the busywork to save you time

Integrate your apps and websites

Use data and events in one app to automate another. Bardeen supports an increasing library of powerful integrations.

Perform tasks & actions

Bardeen completes tasks in apps and websites you use for work, so you don't have to - filling forms, sending messages, or even crafting detailed reports.

Combine it all to create workflows

Workflows are a series of actions triggered by you or a change in a connected app. They automate repetitive tasks you normally perform manually - saving you time.

get bardeen

Don't just connect your apps, automate them.

200,000+ users and counting use Bardeen to eliminate repetitive tasks

Effortless setup
AI powered workflows
Free to use
Reading time
Thank you! Your submission has been received!
Oops! Something went wrong while submitting the form.
By clicking “Accept”, you agree to the storing of cookies. View our Privacy Policy for more information.