Create Tables in Google Sheets: A Step-by-Step Guide

LAST UPDATED
June 6, 2024
Jason Gong
TL;DR

Select your data, go to Format, and choose Table.

By the way, we're Bardeen, we build a free AI Agent for doing repetitive tasks.

If you use Google Sheets, try our GPT in Spreadsheets. It automates tasks like data analysis and formatting, saving you time.

Google Sheets is a powerful tool for organizing and analyzing data, offering a range of features to create and customize tables. In this guide, we'll walk you through the quick and easy steps to create a table in Google Sheets, even if you're new to the platform. We'll cover everything from preparing your data to utilizing advanced formatting options, ensuring your tables are both functional and visually appealing.

Introduction to Google Sheets Tables

Google Sheets is a powerful spreadsheet application that allows you to organize, analyze, and collaborate on data in the cloud. It offers a wide range of features and functionalities to help you manage and manipulate your data effectively. One of the key features of Google Sheets is the ability to create tables.

A table in Google Sheets is a structured way to organize your data into rows and columns, making it easier to read, analyze, and interpret. Unlike Microsoft Excel, where tables are a separate feature, in Google Sheets, you can create a table-like structure using cell ranges and formatting options.

Some of the basic functionalities of Google Sheets include:

  • Entering and editing data in cells
  • Formatting cells (e.g., text, numbers, dates)
  • Using formulas and functions to perform calculations
  • Creating charts and graphs to visualize data
  • Sorting and filtering data
  • Collaborating with others in real-time

By leveraging these functionalities, you can create powerful and dynamic tables in Google Sheets to suit your specific needs. Add ChatGPT to Google Sheets to further enhance your workflow with AI capabilities. In the following sections, we'll explore how to prepare your data, create a table, and enhance it with advanced formatting options.

Preparing Your Data for Table Creation

Before creating a table in Google Sheets, it's essential to organize your data effectively. Well-structured data makes it easier to create a clear and functional table. Here are some tips for preparing your data:

  1. Ensure each column has a unique header that accurately describes the data it contains.
  2. Remove any blank rows or columns that don't contain relevant information.
  3. Check for consistency in data formatting, such as dates, numbers, and text.
  4. Use data validation in Google Sheets to ensure that entered data meets specific criteria, reducing errors and inconsistencies.

To select and arrange columns for effective table creation, consider the following:

  • Place the most important columns first, making it easier for readers to find key information.
  • Group related columns together to improve readability and analysis.
  • Use clear and concise column headers to help users understand the data quickly.

Sorting and cleaning your data is another crucial step in preparing for table creation. To sort your data:

  1. Select the range of cells you want to sort.
  2. Click on the "Data" menu and choose "Sort range."
  3. Specify the column to sort by and the sorting order (A to Z or Z to A).
  4. Click "Sort" to apply the changes.

To clean your data, look for and remove any duplicates, inconsistencies, or errors. You can use the built-in data enrichment tools in Google Sheets to help identify and resolve these issues.

Bardeen can help you connect Google Sheets with other apps, saving time and reducing manual effort.

By taking the time to organize, sort, and clean your data before creating a table, you'll ensure that your table is clear, accurate, and easy to understand.

Step-by-Step Guide to Creating a Table

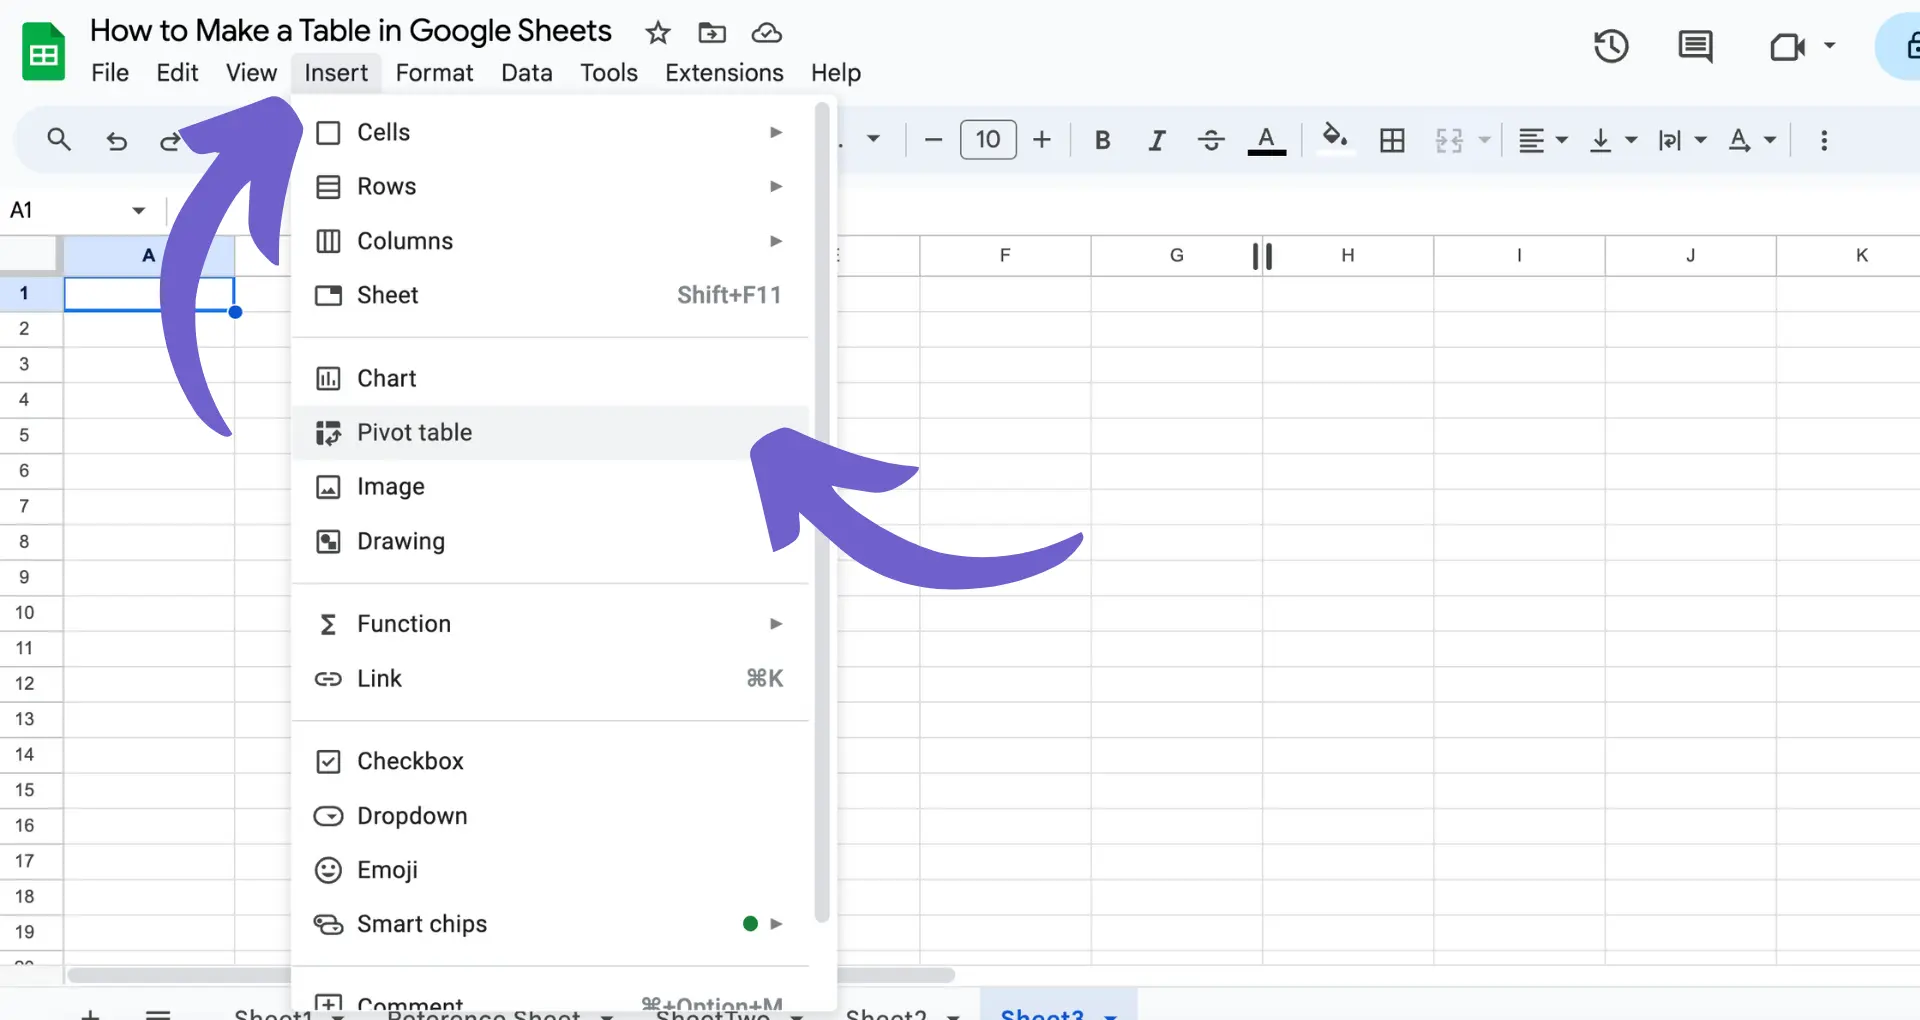
Creating a table in Google Sheets is a simple process that can be completed in just a few steps:

  1. Select the data you want to include in your table. Make sure it is organized in a logical manner, with each column representing a specific category or type of information.
  2. Click on the first cell of your data range and drag your cursor to the last cell to highlight the entire range.
  3. Click on the "Format" menu at the top of the screen and select "Table."
  4. In the "Table" dialog box, you can customize your table by choosing a style, adding or removing headers, and selecting whether to include alternating row colors.
  5. Click "OK" to apply your table formatting.

To further enhance the readability of your table, consider the following tips:

  • Use borders to clearly define the cells and separate data points. You can adjust the border style, color, and thickness by clicking on the "Borders" icon in the toolbar.
  • Format your text to make it easier to read. Use a clear, legible font, and consider making headers bold or using a different color to distinguish them from the data.
  • Align your text within cells to create a clean, organized look. Use the "Horizontal align" and "Vertical align" options in the toolbar to center, left-align, or right-align your data as needed.

By following these steps and tips, you can create a professional-looking table in Google Sheets that effectively organizes and presents your data. For more advanced features, you can integrate Google Docs with Google Sheets.

Utilizing Advanced Formatting Options

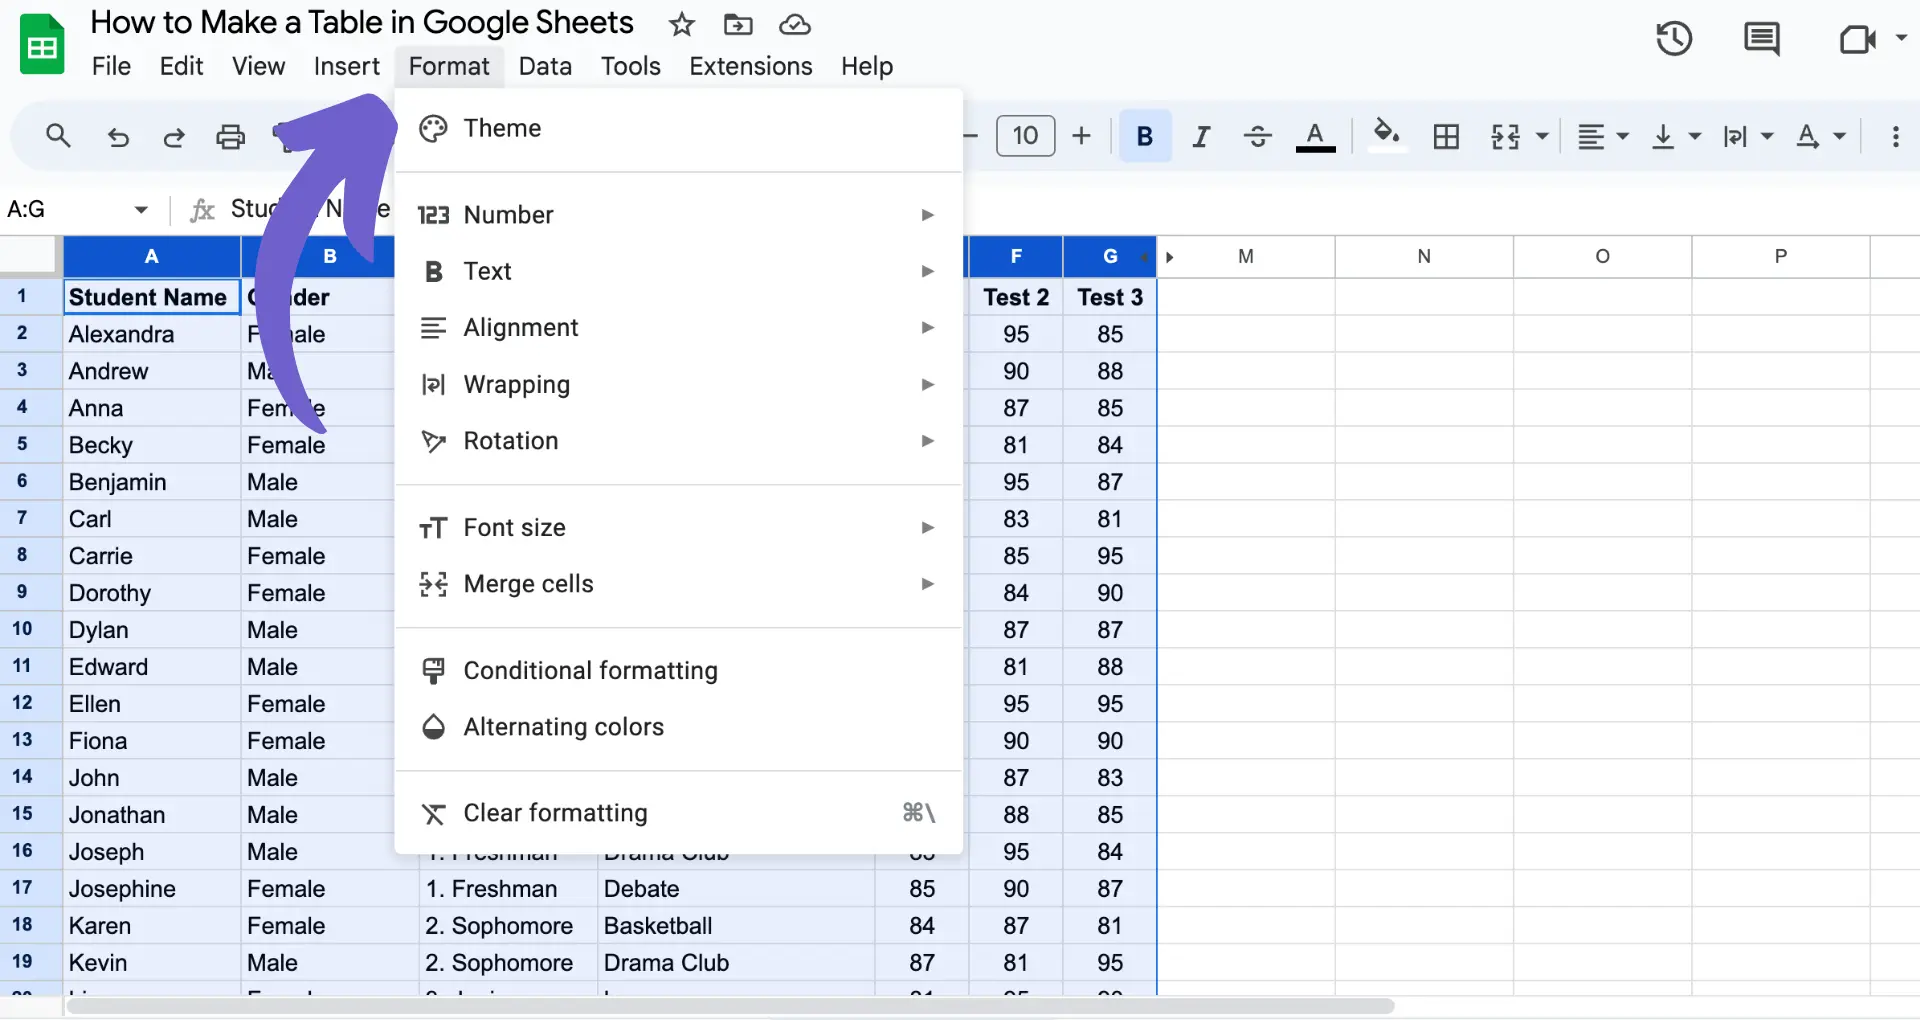
Google Sheets offers several advanced formatting options to make your tables more visually appealing and easier to read. One such feature is "Alternating Colors," which allows you to apply different background colors to alternating rows in your table.

To use this feature:

  1. Select the range of cells you want to format.
  2. Click on the "Format" menu and choose "Alternating colors."
  3. In the "Alternating colors" dialog box, select the color scheme you prefer and click "Done."

Another powerful formatting tool is conditional formatting, which allows you to dynamically format cells based on their values. This is particularly useful for highlighting important data points or identifying trends in your table.

To apply conditional formatting:

  1. Select the range of cells you want to format.
  2. Click on the "Format" menu and choose "Conditional formatting."
  3. In the "Conditional format rules" panel, click on "Add new rule."
  4. Choose the condition that will trigger the formatting change (e.g., "Greater than," "Equal to," "Text contains," etc.).
  5. Specify the value or text that will trigger the rule and select the formatting style you want to apply.
  6. Click "Done" to apply the rule.
Bardeen integrations can speed up your spreadsheet tasks. Learn how to connect Microsoft Excel to other apps for streamlined data management.

You can create multiple conditional formatting rules for a single table, allowing you to highlight different types of data in different ways. By leveraging these advanced formatting options, you can create tables that are not only functional but also visually engaging and easy to interpret.

Tips for Maintaining and Updating Tables

As your data changes over time, it's important to maintain the integrity of your tables in Google Sheets. One way to do this is by using named ranges. Named ranges allow you to assign a specific name to a range of cells, making it easier to reference that range in formulas and charts.

To create a named range:

  1. Select the range of cells you want to name.
  2. Click on the "Data" menu and choose "Named ranges."
  3. In the "Named ranges" dialog box, enter a name for your range and click "Done."

Another useful tool for maintaining table integrity is data validation. Data validation allows you to set rules for what type of data can be entered into specific cells, reducing the risk of errors or inconsistencies.

To set up data validation:

  1. Select the range of cells you want to validate.
  2. Click on the "Data" menu and choose "Data validation."
  3. In the "Data validation" dialog box, choose the criteria for valid data (e.g., a list of options, a number range, or a specific format).
  4. Optionally, enter a custom error message to display when invalid data is entered.
  5. Click "Save."

When adding or removing data from your table, it's important to ensure that the table expands correctly. One way to do this is by using the "Resize Table" feature:

  1. Click anywhere within your table.
  2. In the "Format" menu, click on "Table."
  3. Choose "Resize table" and select the new range of cells that should be included in the table.
  4. Click "OK" to apply the changes.

By using these strategies, you can maintain the integrity and accuracy of your tables in Google Sheets, even as your data evolves over time. For more advanced management, consider using our Google Sheets playbooks.

Automate Google Sheets with Bardeen's Powerful Playbooks

While creating a table in Google Sheets manually is a useful skill, automating this process can save you time and ensure consistency across your data management tasks. Bardeen offers powerful automation playbooks that seamlessly integrate with Google Sheets to streamline your work.

Here are examples of automations you can build with Bardeen:

  1. Copy an Airtable to Google Sheets: Automate the process of transferring data from Airtable to Google Sheets, ensuring your spreadsheet is always up-to-date without manual input.
  2. Create QR codes for a list of links in Google Sheets and save to Google Drive: This playbook generates QR codes from URLs listed in your Google Sheets and saves them directly to Google Drive, perfect for quick sharing and accessibility.
  3. Create a Coda table entry when a Google Sheets spreadsheet is modified: Sync changes from Google Sheets to Coda in real-time, ensuring your databases are always aligned and up-to-date.

Explore these playbooks to automate your Google Sheets workflows and boost your productivity.

Contents
Supercharge your Google Sheets with GPT

Use Bardeen's GPT in Spreadsheets to automate and enhance your Google Sheets tasks.

Get Bardeen free

Related frequently asked questions

How to Import Salesforce Tables into Google Sheets: A Guide

Learn how to import Salesforce tables into Google Sheets seamlessly. Follow our step-by-step guide to sync and manage Salesforce data in Google Sheets.

Read more
Extract Photos from Google Sheets: A Step-by-Step Guide

Learn how to extract and download images from Google Sheets easily. Ideal for presentations, reports, and more. Simple steps for embedded and non-embedded images.

Read more
Convert Text to Number in Google Sheets: 3 Easy Steps

Learn how to convert text to numbers in Google Sheets using basic and advanced methods for accurate data analysis and streamlined workflows.

Read more
How to Add Images to Google Sheets: A Step-by-Step Guide

Learn how to add images to Google Sheets, including inserting into cells, creating clickable images, and simulating backgrounds. Step-by-step guide included.

Read more
Add Contacts to Salesforce Campaign: A Step-by-Step Guide

Learn how to add contacts to a Salesforce campaign using direct addition, reports, or mass addition tools for efficient outreach and campaign management.

Read more
What is Automation? Types, Benefits, and Examples

Discover what automation is, its types like RPA and BPA, and how it transforms businesses by reducing costs and boosting efficiency. Learn more inside.

Read more
how does bardeen work?

Your proactive teammate — doing the busywork to save you time

Integrate your apps and websites

Use data and events in one app to automate another. Bardeen supports an increasing library of powerful integrations.

Perform tasks & actions

Bardeen completes tasks in apps and websites you use for work, so you don't have to - filling forms, sending messages, or even crafting detailed reports.

Combine it all to create workflows

Workflows are a series of actions triggered by you or a change in a connected app. They automate repetitive tasks you normally perform manually - saving you time.

get bardeen

Don't just connect your apps, automate them.

200,000+ users and counting use Bardeen to eliminate repetitive tasks

Effortless setup
AI powered workflows
Free to use
Reading time
Thank you! Your submission has been received!
Oops! Something went wrong while submitting the form.
By clicking “Accept”, you agree to the storing of cookies. View our Privacy Policy for more information.