
In today's fast-paced digital world, managing your email inbox can be a daunting task. With the constant influx of emails, it's easy to feel overwhelmed and disorganized. That's where automatic email labeling comes in. By mastering the art of automatically labeling your emails in Gmail, you can take control of your inbox, save valuable time, and boost your productivity.
Imagine never having to manually sort through your emails again. With automatic labeling, you can ensure that important emails are always prioritized, while less critical messages are neatly categorized for later review. Whether you're dealing with work emails, personal correspondence, or subscription newsletters, automatic labeling can help you maintain a clutter-free inbox.
In this comprehensive guide, we'll walk you through the process of setting up automatic email labeling in Gmail. We'll cover both the classic manual approach and the cutting-edge automated method using Bardeen. By the end of this guide, you'll have all the tools and knowledge you need to revolutionize your email management system.
Are you ready to say goodbye to email chaos and hello to a more organized, efficient inbox? Keep reading to discover the secrets of automatic email labeling and unlock the full potential of your Gmail account. Trust us, your future self will thank you for taking the time to master this essential skill.
Gmail labels are a powerful tool for organizing and managing your inbox effectively. By using labels, you can categorize your emails based on their content, sender, or importance, making it easier to find and prioritize messages. Unlike traditional folders, labels allow you to assign multiple tags to a single email, providing greater flexibility in how you structure your inbox.
Gmail labels are essentially tags that you can assign to your emails, allowing you to categorize and organize them based on your preferences. For example, if you receive an email from a client regarding a specific project, you can create a label called "Client X - Project Y" and assign it to the email. This makes it easy to locate all emails related to that project in the future.
Labels can be applied to both incoming and outgoing emails, as well as drafts. You can create as many labels as you need, and even nest them under parent labels for a more hierarchical structure. This flexibility enables you to tailor your inbox to your unique workflow and priorities.
By using labels, you can transform your inbox from a cluttered mess to a well-organized system. Instead of scrolling through countless emails to find a specific message, you can simply click on the relevant label and view all emails associated with that category. This saves time and reduces the risk of overlooking important messages.
Labels also make it easier to manage your inbox on a daily basis. For instance, you can create labels for "To-Do," "Follow-Up," or "Waiting for Response," allowing you to quickly identify emails that require action. As you complete tasks or receive responses, you can remove the corresponding labels, keeping your inbox up-to-date and organized.
While labels may seem similar to traditional folders, there is a key difference: an email can have multiple labels, but it can only be in one folder. This means that with labels, you can assign an email to multiple categories without creating duplicate copies. Labels offer a more dynamic and adaptable approach to email organization, enabling you to structure your inbox in a way that best suits your needs.
The benefits of using Gmail labels are clear: they help you organize your inbox, prioritize important messages, and manage your email workflow more efficiently. By mastering the use of labels, you can take control of your inbox and boost your productivity.
Now that you understand the fundamentals of Gmail labels, let's dive into the next section, where you'll learn how to set up automatic labeling in Gmail to streamline your email management even further.
Want to save even more time? Check out this playbook to classify and update labels of new emails in Gmail.
Automatic labeling in Gmail is a powerful feature that can save you time and keep your inbox organized. By setting up filters and associating them with labels, you can ensure that incoming emails are automatically sorted and categorized based on your specific criteria, such as sender, subject line, or keywords. This section will guide you through the process of creating labels and filters to automate your email management.
To start using automatic labeling, you first need to create the labels you want to use. Here's how:
Once you have created your labels, you can easily apply them to existing emails by selecting the email and clicking on the "Labels" button at the top of your inbox.
Now that you have your labels set up, it's time to create filters that will automatically assign these labels to incoming emails based on your specified criteria. Follow these steps:
From now on, any incoming emails that match your filter criteria will automatically have the assigned label applied to them, keeping your inbox organized and clutter-free.
If you're a visual learner, there are plenty of resources available to help you set up automatic labeling in Gmail. Many websites and blogs offer step-by-step screenshots that walk you through the process of creating labels and filters. Additionally, you can find video tutorials on automation platforms like YouTube that provide a more interactive and engaging learning experience.
By following along with these visual guides, you can ensure that you're setting up your automatic labeling system correctly and efficiently.
Automatic labeling is a game-changer for managing your Gmail inbox. By investing a little time in setting up labels and filters, you can save yourself countless hours of manual sorting and organizing in the long run. In the next section, we'll explore some advanced label management techniques to take your email organization to the next level.
Once you've set up your basic labels and filters in Gmail, you may find that your email management needs evolve over time. As your inbox grows and your priorities change, it's essential to know how to edit, merge, delete, and organize your labels to keep your email system running smoothly. This section will cover some advanced techniques for managing your Gmail labels effectively.
As your email needs change, you may find that some of your labels become obsolete or need to be updated. To edit an existing label, simply hover over the label name in the left sidebar of Gmail and click the down arrow that appears. From there, you can choose to rename the label, change its color, or even nest it under another label for better organization.
For example, if you have a label called "Work Projects" and you start working on a new project called "Project X," you can create a new label called "Project X" and nest it under the "Work Projects" label to keep all your work-related emails organized in one place.
Over time, you may accumulate labels that are no longer needed or that can be combined with other labels. To merge two labels, simply drag and drop one label onto another in the left sidebar of Gmail. All emails with the original label will be moved to the merged label, and the original label will be deleted.
If you want to delete a label entirely, hover over the label name and click the down arrow, then select "Remove label." Keep in mind that deleting a label will not delete the emails associated with that label; they will simply be removed from the label and remain in your inbox.
If you have labels that you don't use often but don't want to delete entirely, you can choose to hide them from view. Simply hover over the label name, click the down arrow, and select "Hide."
One of the most powerful features of Gmail labels is the ability to color-code them for quick visual recognition. By assigning colors to your labels, you can easily see which emails belong to which categories at a glance.
For example, you might assign the color red to labels for urgent emails, yellow for important but not urgent emails, and green for emails that can wait. This way, when you open your inbox, you can immediately prioritize which emails need your attention first.
In addition to color coding, you can also create a hierarchy of labels by nesting them under one another. This allows you to create main categories and subcategories for your emails, making it even easier to find what you need quickly.
Advanced label management techniques are key to keeping your Gmail inbox organized and efficient. By regularly reviewing and updating your labels, merging or deleting unnecessary ones, and using color coding and hierarchy to prioritize your emails, you can stay on top of your inbox and focus on what matters most. Next up, we'll explore how to organizing and efficient your Gmail inbox.
Save time and effort by using this playbook to classify and update labels of new emails in Gmail.
While labeling is a powerful tool for organizing your Gmail inbox, there are many other tasks that can be automated to save you time and effort. From integrating with third-party tools to using Gmail's native features and even leveraging AI, there are numerous ways to streamline your email management workflow.
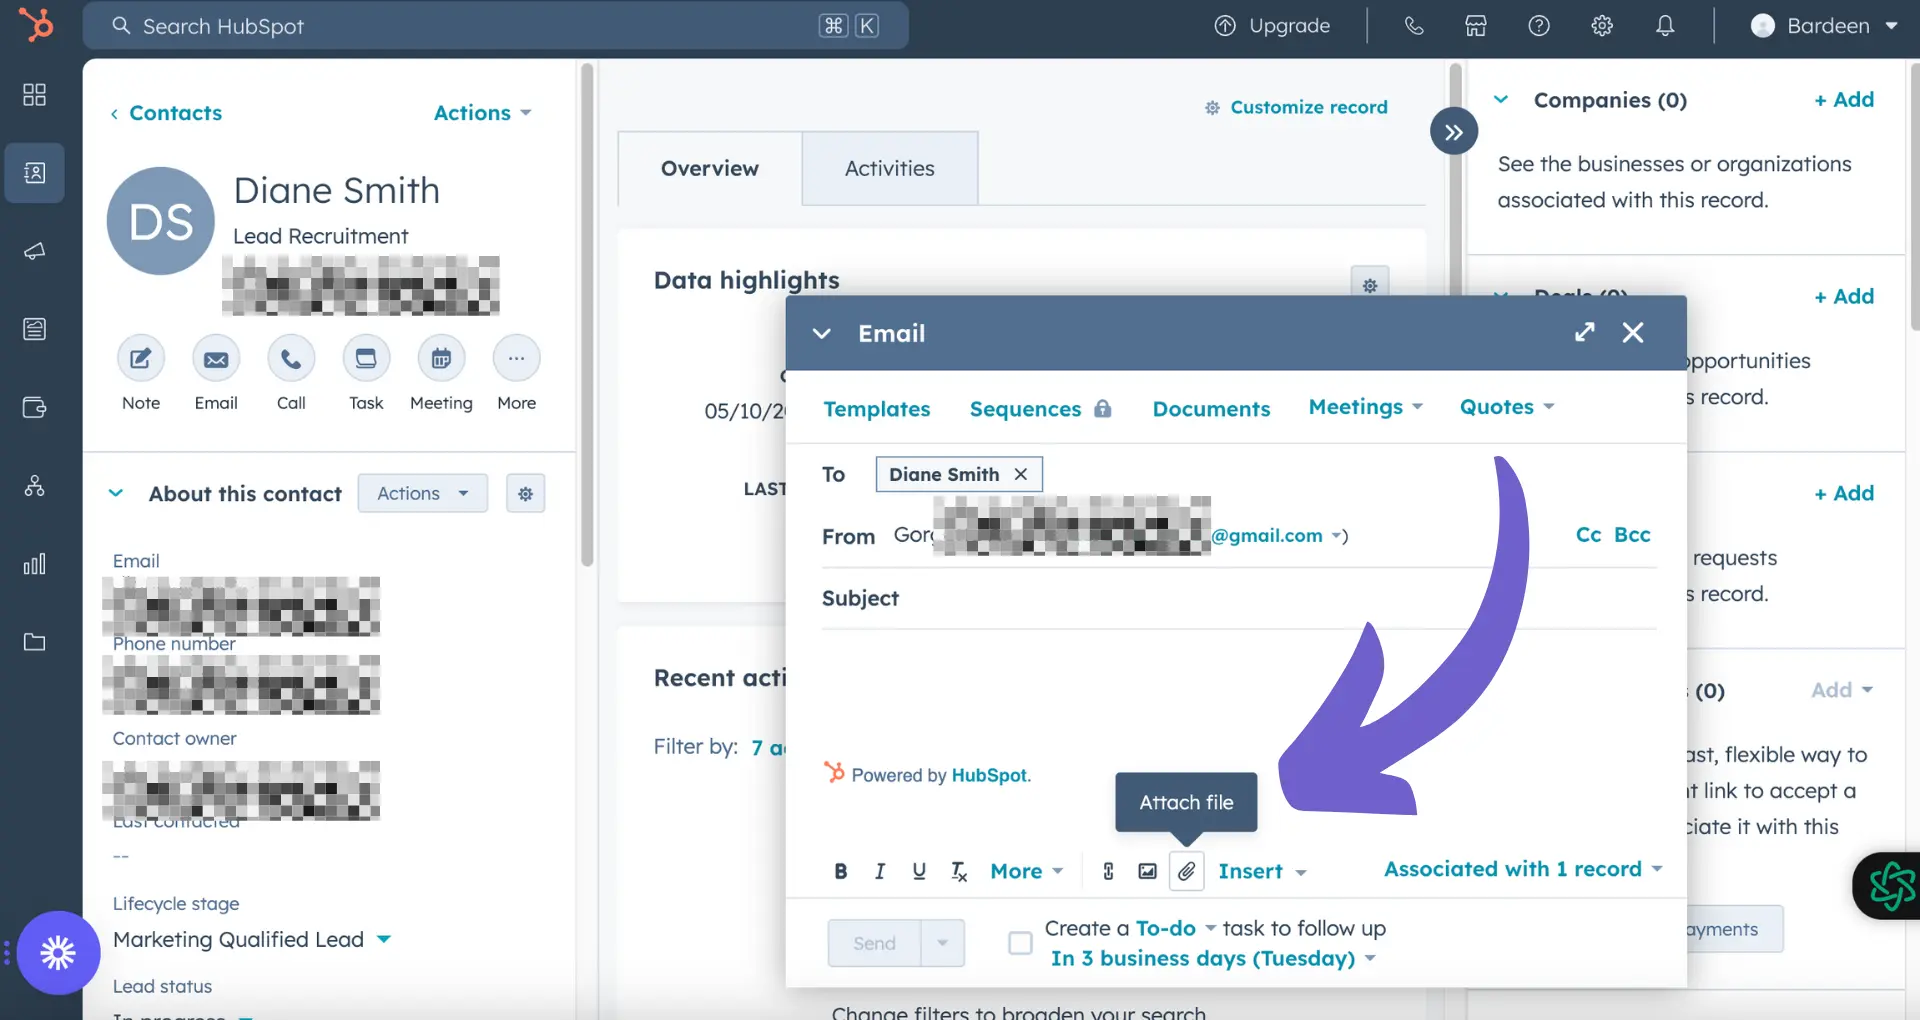
One way to enhance your email automation is by connecting Gmail with third-party tools. For example, you can use a tool like Bardeen to create custom automations that trigger based on specific events in your inbox. This could include automatically adding new contacts to your CRM system when they email you or sending a personalized follow-up message after a certain period of time.
Another useful integration is with project management tools like Asana or Trello. By connecting these tools with Gmail, you can easily turn emails into actionable tasks or project updates without having to manually copy and paste information between platforms.
In addition to third-party integrations, Gmail itself offers a range of native features that can help automate your inbox management. One such feature is rules, which allow you to automatically sort, label, archive, or delete emails based on specific criteria like sender, subject line, or keywords.
For example, you could create a rule that automatically archives all emails from a particular mailing list or deletes messages with certain spam-like characteristics. This helps keep your inbox clutter-free without requiring manual intervention.
Another useful native feature is filters, which work similarly to rules but with more advanced options. With filters, you can automatically forward emails to another address, mark them as read, or even send canned responses based on specific triggers.
As artificial intelligence continues to advance, it's playing an increasingly important role in email management and automation. AI-powered tools can help prioritize your inbox based on factors like urgency and relevance, ensuring that you see the most important messages first.
Some AI tools can also help draft responses to common inquiries, saving you time and effort on repetitive tasks. For example, if you frequently receive questions about your product or service, an AI tool could suggest appropriate responses based on the content of the email.
Additionally, AI can help identify patterns and anomalies in your email data, alerting you to potential issues or opportunities that might otherwise go unnoticed.
By leveraging third-party integrations, native Gmail features, and AI-powered tools, you can take your email automation to the next level and save countless hours on inbox management. Next up, we'll explore some common issues that can arise with Gmail labels and how to troubleshoot them effectively.
Even with the best intentions and setup, issues can sometimes arise when using Gmail labels for automatic email organization. From labels not applying correctly to accidentally deleted labels or mislabeled emails, these problems can quickly lead to confusion and frustration. However, by understanding common issues and how to address them, you can maintain a well-organized inbox over time. Save time and effort by using this playbook to classify and update labels of new emails in Gmail.
One common issue users face is when labels don't apply to emails as expected. This can happen for a few reasons, such as incorrect filter criteria or conflicting rules. To resolve this, start by reviewing your label settings and filters to ensure they are set up correctly.
Double-check that the criteria for each filter are specific enough to catch the desired emails without being too broad. If you have multiple filters or rules set up, make sure they don't have contradictory conditions that could prevent labels from applying properly.
Another problem that can occur is accidentally deleting a label or applying the wrong label to an email. If you catch the mistake quickly, you may be able to undo the action using Gmail's "Undo" feature. However, if more time has passed, you'll need to take a different approach.
For deleted labels, check your Gmail trash to see if the label is still there. If so, you can restore it and any emails that were associated with it. If the label is gone, you'll need to recreate it and manually re-apply it to any relevant emails.
For mislabeled emails, search for the incorrectly applied label and remove it from the affected messages. Then, apply the correct label to those emails to ensure they are properly organized.
To prevent label-related issues from getting out of hand, it's important to regularly review your labeling system and make adjustments as needed. Set aside time each month or quarter to assess whether your current labels are still relevant and effective.
As your email habits or priorities change over time, your labeling system should evolve to match. Don't be afraid to create new labels, merge or delete old ones, or update your filters to ensure your inbox stays organized and manageable.
By proactively addressing common labeling issues and regularly maintaining your system, you can enjoy the benefits of an organized inbox without the headaches of constant troubleshooting. For more insights on AI email management, explore our guide.
Knowing how to automatically label emails in Gmail is crucial for maintaining an organized and efficient inbox.
In this comprehensive guide, you discovered:
With these tips and tricks, you'll be a Gmail labeling pro in no time—no more digging through endless emails!


SOC 2 Type II, GDPR and CASA Tier 2 and 3 certified — so you can automate with confidence at any scale.


