Enable Salesforce Field History Tracking in 5 Steps

LAST UPDATED
June 6, 2024
Jason Gong
apps
No items found.
TL;DR

Click Setup, Object Manager, select object, and enable Field History Tracking.

By the way, we're Bardeen, we build a free AI Agent for doing repetitive tasks.

If you use Salesforce, you'll love Bardeen's AI Agent. It automates tasks like data entry and lead tracking, saving you time and improving efficiency.

Field History Tracking is a powerful feature in Salesforce that allows you to monitor and audit changes made to specific fields within your organization's records. By enabling Field History Tracking, you can maintain data integrity, ensure compliance, and gain valuable insights into how your data evolves over time. In this step-by-step guide, we'll walk you through the process of configuring and utilizing Field History Tracking in Salesforce, from understanding its benefits to managing and viewing historical data reports.

Understanding Field History Tracking in Salesforce

Field History Tracking is a powerful feature in Salesforce that allows you to monitor and audit changes made to specific fields within your organization's records. By enabling Field History Tracking, you can:

  • Maintain data integrity and ensure compliance by keeping a record of who made changes, when they were made, and what the old and new values were.
  • Create an audit trail that helps you understand how your data has evolved over time, making it easier to identify trends, spot inconsistencies, and troubleshoot issues.
  • Gain valuable insights into your business processes and user behavior by analyzing the historical data captured by Field History Tracking.

Tracking changes to critical fields is especially important in industries with strict regulatory requirements, such as finance and healthcare, where maintaining accurate records is essential for compliance purposes. However, even in less regulated industries, Field History Tracking can provide a valuable safety net, allowing you to quickly identify and resolve data discrepancies or unauthorized changes.

Preparing to Enable Field History Tracking

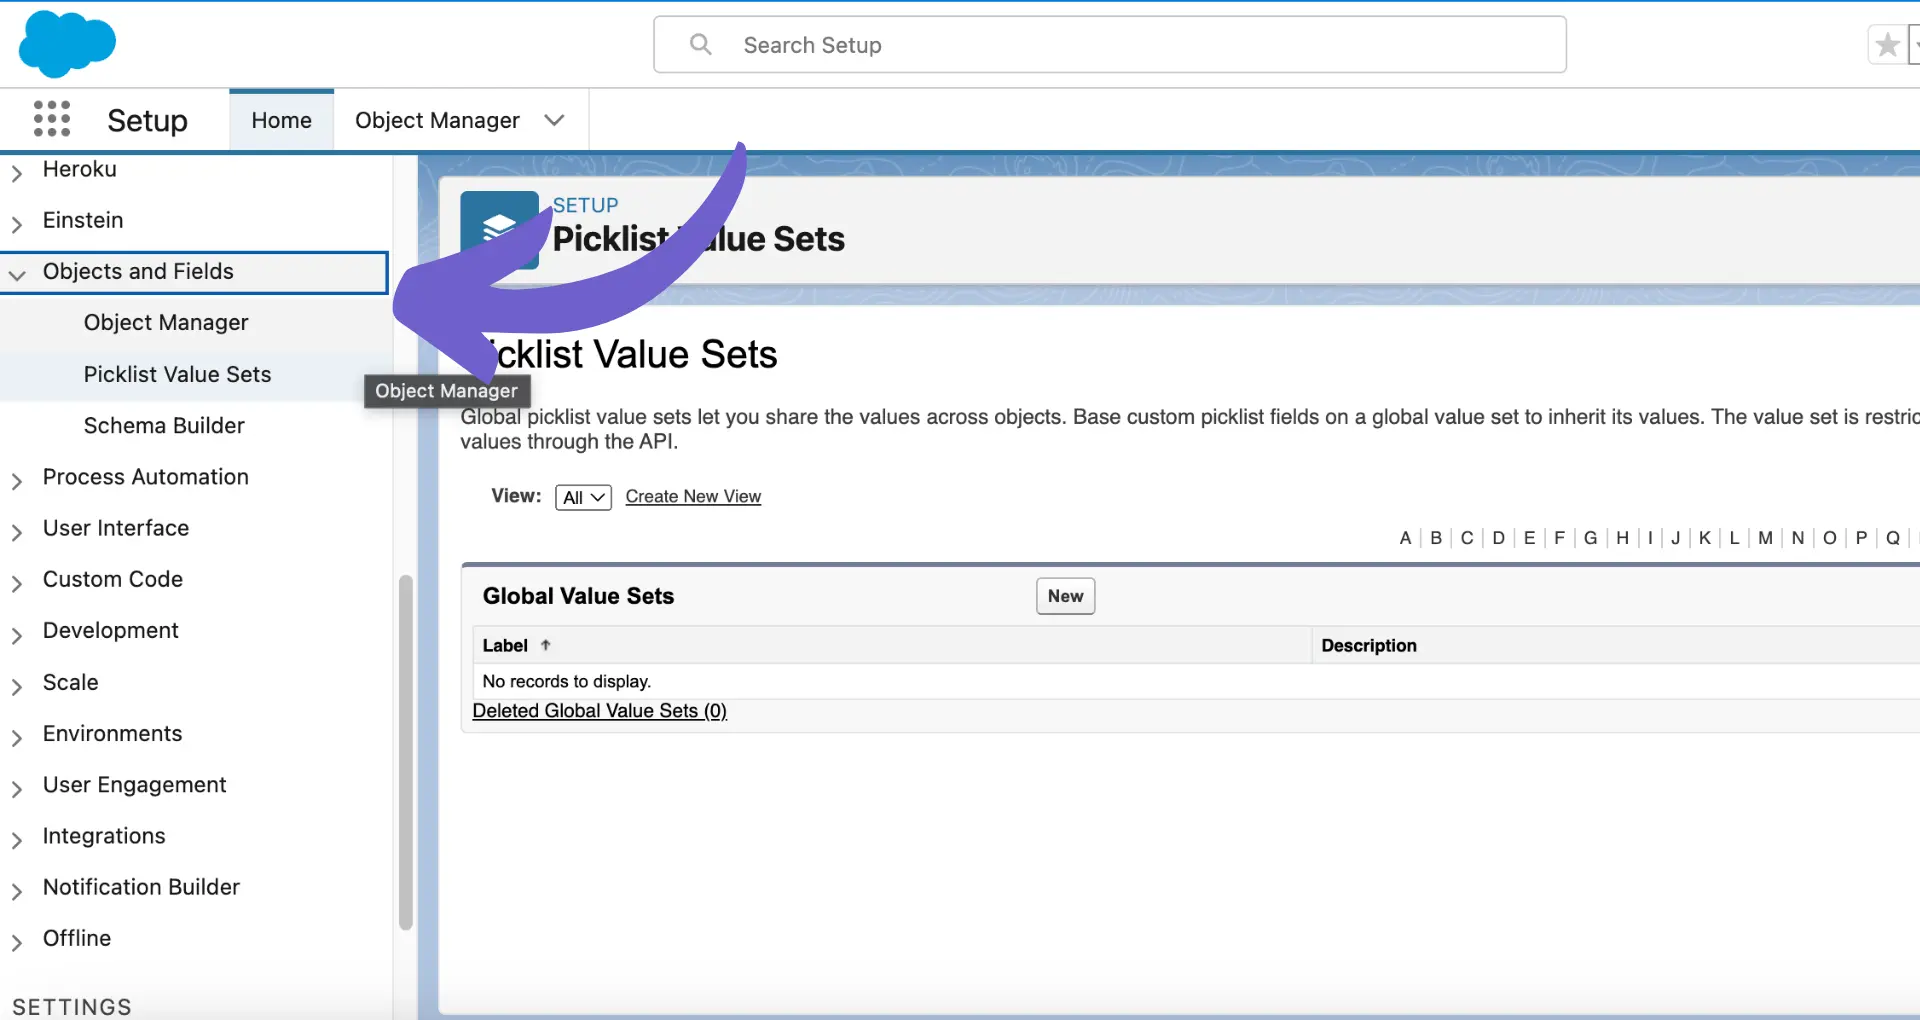
Before you start enabling Field History Tracking in Salesforce, it's important to prepare by identifying the objects and fields that require tracking. Follow these steps to access the necessary settings:

  1. Log in to your Salesforce account and click on the Setup icon in the top-right corner of the page.
  2. In the Setup menu, use the Quick Find search box to locate and click on "Object Manager".
  3. In the Object Manager, select the object for which you want to enable Field History Tracking.

When deciding which fields to track, consider your organization's specific business needs and compliance requirements. Some questions to ask yourself include:

  • Which fields contain sensitive or critical information that requires monitoring?
  • Are there any fields that are frequently updated and need to be audited for changes?
  • What level of granularity do you need in your field history data?

Keep in mind that Salesforce limits the number of fields you can track per object, so it's essential to prioritize the most important fields for your organization's needs. Consider using tools to automate enrichment and other repetitive tasks to maintain data quality.

Save time and improve data quality by using Bardeen to automate your enrichment and qualification. Focus on important tasks while Bardeen handles the repetitive work.

Configuring Field History Tracking Settings

Once you have identified the objects and fields that require history tracking, follow these steps to enable Field History Tracking in Salesforce:

  1. In the Object Manager, click on the object for which you want to enable Field History Tracking.
  2. Select "Fields & Relationships" from the left sidebar menu.
  3. Click on the field you want to track and scroll down to the "Field History Tracking" section.
  4. Check the box next to "Track Field History" and click "Save".
  5. Repeat steps 3-4 for each field you want to track on the selected object.

It's important to note that Salesforce limits the number of fields you can track per object to 20. If you have more than 20 fields that require tracking, you'll need to prioritize the most critical fields based on your organization's needs.

To make the most of the 20-field limit, consider the following strategies:

  • Group related fields together and track changes at a higher level, rather than tracking each field individually.
  • Focus on fields that are most likely to be updated frequently or contain sensitive information.
  • Regularly review and reassess your tracked fields to ensure they align with your current business requirements.

By carefully selecting the fields to track and staying within the 20-field limit, you can effectively leverage field history tracking to maintain data integrity and comply with audit requirements.

Adding Field History to Page Layouts

After enabling Field History Tracking for specific fields, you need to make the field history visible to users by adding the related list to the object's page layout. Here's how:

  1. Navigate to Setup \u003e Object Manager and select the object for which you enabled Field History Tracking.
  2. Click on "Page Layouts" and select the layout you want to modify.
  3. In the page layout editor, locate the "Related Lists" section.
  4. Click and drag the "Field History" related list from the list of available related lists to the desired position on the page layout.
  5. Click "Save" to apply the changes.

If you have multiple page layouts for an object, repeat these steps for each layout where you want the Field History related list to appear.

To provide users with a more comprehensive view of the field history, consider placing the related list in a prominent position on the page layout, such as near the top or in a dedicated tab.

Streamline your Salesforce page layout edits by using Bardeen to connect Google Sheets. Automate data updates and focus on what's important.

For visual guidance on modifying page layouts in Salesforce, consult the official Salesforce documentation or explore online resources, such as Trailhead modules and community forums, which often include screenshots and step-by-step instructions.

Managing and Viewing Field History Reports

Salesforce automatically captures field history data when you have Field History Tracking enabled. To access and analyze this data for audit and reporting purposes, follow these steps:

  1. Navigate to the Reports tab in Salesforce and click on "New Report".
  2. Select the "Field History" report type under the "Administrative Reports" folder.
  3. Choose the object for which you want to view the field history data and click "Create".
  4. In the report builder, you can customize the report by adding filters, groupings, and columns to focus on specific fields, time periods, or users.
  5. Run the report to view the field history data, which includes details such as the field name, old value, new value, date of change, and the user who made the change.

To gain deeper insights into historical data and track changes effectively, consider creating custom reports that combine field history data with other relevant information, such as:

By leveraging the power of Salesforce's reporting tools and combining field history data with other key metrics, you can create comprehensive audit trails, identify trends, and make data-driven decisions to improve your business processes.

Boost Salesforce Efficiency with Bardeen Automation

While adding field history tracking in Salesforce manually ensures data integrity and supports compliance, automating your Salesforce processes can significantly enhance productivity and data management. With Bardeen, you can automate various tasks, ranging from syncing data across platforms to streamlining sales operations, thereby freeing up time for more strategic activities. Explore how Bardeen's Salesforce automation playbooks can transform your workflow.

Streamline your Salesforce processes by leveraging the following Bardeen automations:

  1. Sync New HubSpot Deal to Salesforce: Automatically update Salesforce deals when new ones are created in HubSpot, ensuring seamless integration and up-to-date sales data across your tools.
  2. Import Company Details into Salesforce: Simplify lead management by automatically creating new Salesforce accounts with company details, enhancing sales efficiency and data accuracy.
  3. Sync HubSpot Contact to Salesforce as New Contact: Ensure consistent and up-to-date contact information across Salesforce and HubSpot, streamlining your sales and marketing efforts.

Automate your Salesforce tasks for more efficient data management and improved sales strategies. Get started by downloading the Bardeen app.

Contents
Boost Salesforce with Bardeen's AI Agent

Automate Salesforce tasks with Bardeen's AI Agent for better data management and efficiency.

Get Bardeen free

Related frequently asked questions

What is Automation? Types, Benefits, and Examples

Discover what automation is, its types like RPA and BPA, and how it transforms businesses by reducing costs and boosting efficiency. Learn more inside.

Read more
Efficiently Copy Formulas Down in Google Sheets: 3 Methods

Learn how to copy formulas down in Google Sheets using absolute references, ARRAYFORMULA, or shortcuts to enhance productivity and manage large datasets.

Read more
Data Automation Software: Top Tools and Benefits

Discover the top data automation software tools that streamline data processes, reduce errors, and increase productivity. Learn key benefits and implementation steps.

Read more
How to Connect Gmail to Service in HubSpot: A Complete Guide

Learn how to connect Gmail to HubSpot for seamless email tracking and automation. Follow our step-by-step guide for successful integration and communication.

Read more
Guide to Uploading Files in Salesforce: Methods & Tips

Learn how to upload files in Salesforce individually, in bulk, or automate with the REST API. Manage documents efficiently within your CRM.

Read more
What is Customer Segmentation? Benefits and Techniques

Discover customer segmentation, its benefits, and advanced techniques. Learn how to divide your customers into distinct groups for tailored marketing strategies.

Read more
how does bardeen work?

Your proactive teammate — doing the busywork to save you time

Integrate your apps and websites

Use data and events in one app to automate another. Bardeen supports an increasing library of powerful integrations.

Perform tasks & actions

Bardeen completes tasks in apps and websites you use for work, so you don't have to - filling forms, sending messages, or even crafting detailed reports.

Combine it all to create workflows

Workflows are a series of actions triggered by you or a change in a connected app. They automate repetitive tasks you normally perform manually - saving you time.

get bardeen

Don't just connect your apps, automate them.

200,000+ users and counting use Bardeen to eliminate repetitive tasks

Effortless setup
AI powered workflows
Free to use
Reading time
Thank you! Your submission has been received!
Oops! Something went wrong while submitting the form.
By clicking “Accept”, you agree to the storing of cookies. View our Privacy Policy for more information.