Since you're learning about sending emails in Salesforce, you might love Bardeen's AI Agent. It automates email tasks, saving you time and improving productivity.
Sending emails directly from Salesforce using Gmail or Office 365 integration can significantly streamline your communication processes and improve productivity. This step-by-step guide will walk you through setting up email integration, personalizing your settings, sending individual and mass emails, automating email workflows, and monitoring your email performance within Salesforce. By following these steps, you'll be able to effectively manage your email communications without leaving the Salesforce platform.
Setting Up Email Integration in Salesforce
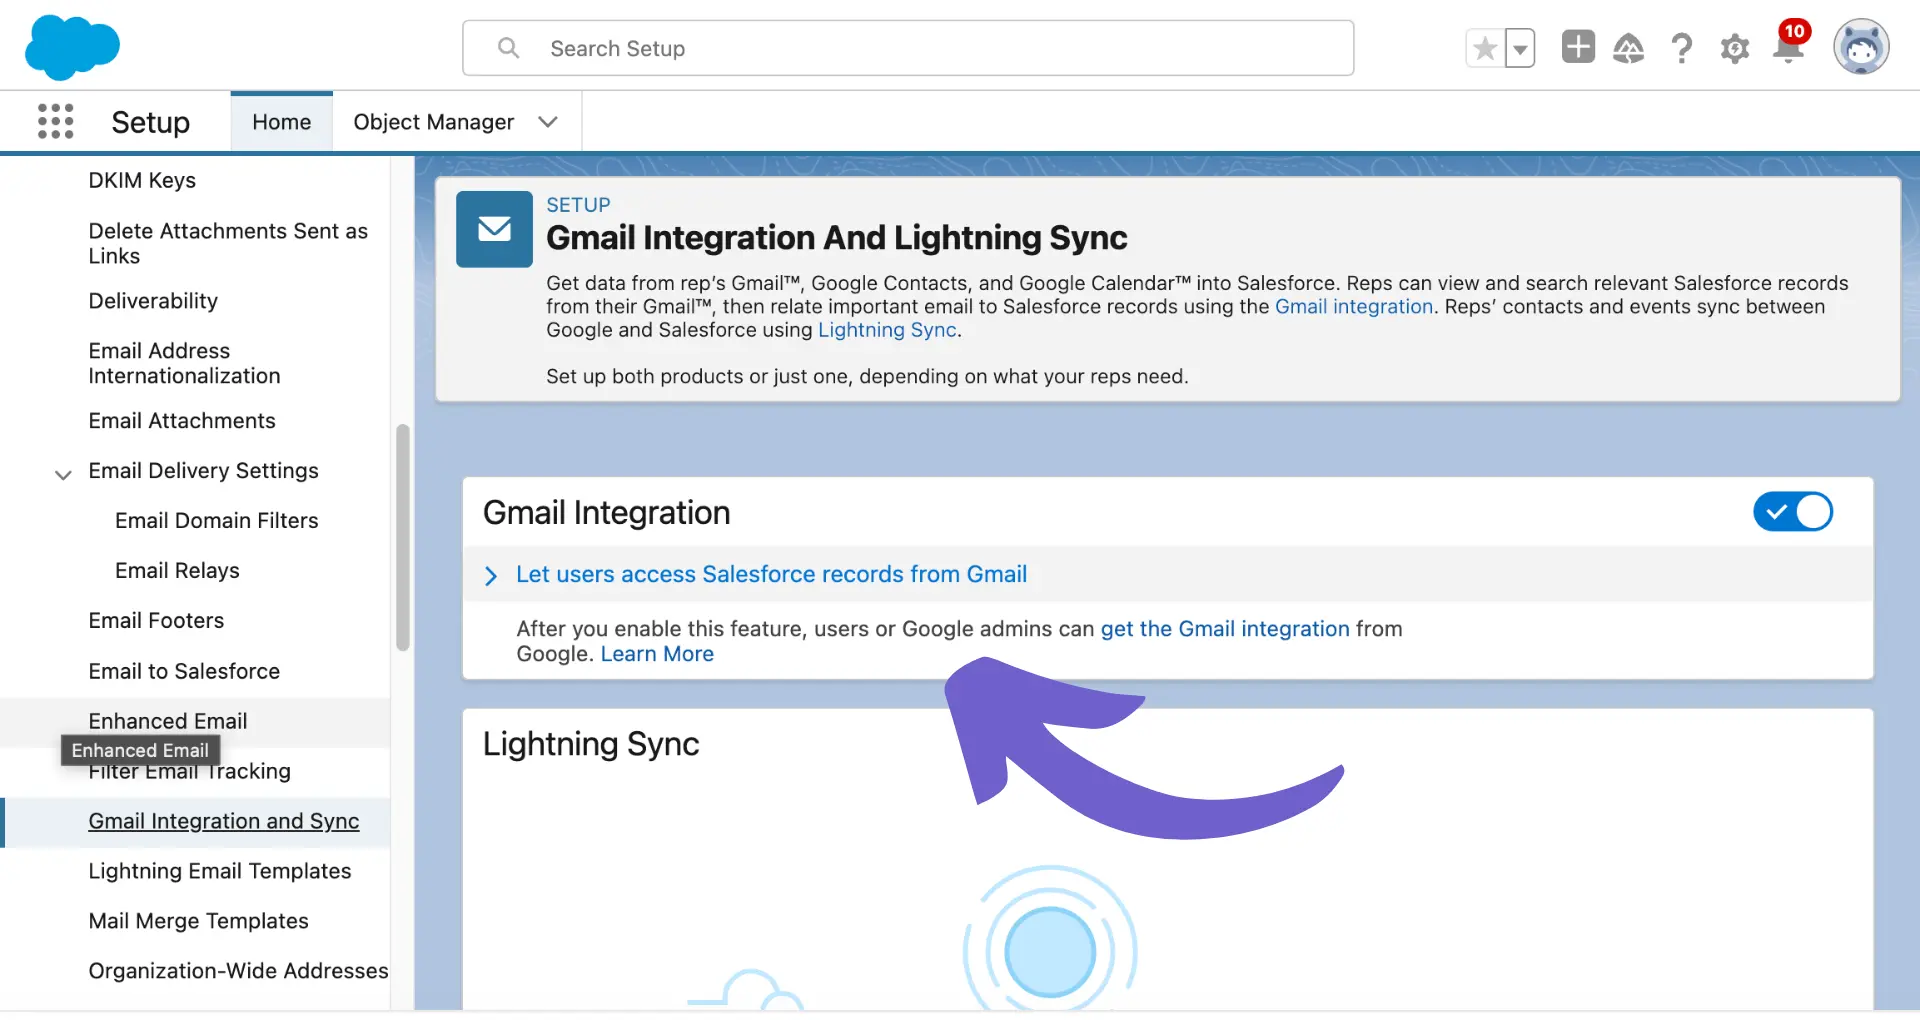
To start sending emails from Salesforce using Gmail or Office 365, you first need to set up email integration within your Salesforce org. Here are the key steps to follow:
Navigate to Setup > Email > Email Settings in Salesforce.
Scroll down to the "Outbound Email" section and click "Edit."
Select either Gmail or Office 365 as your email service provider.
Enter your email account credentials and click "Save."
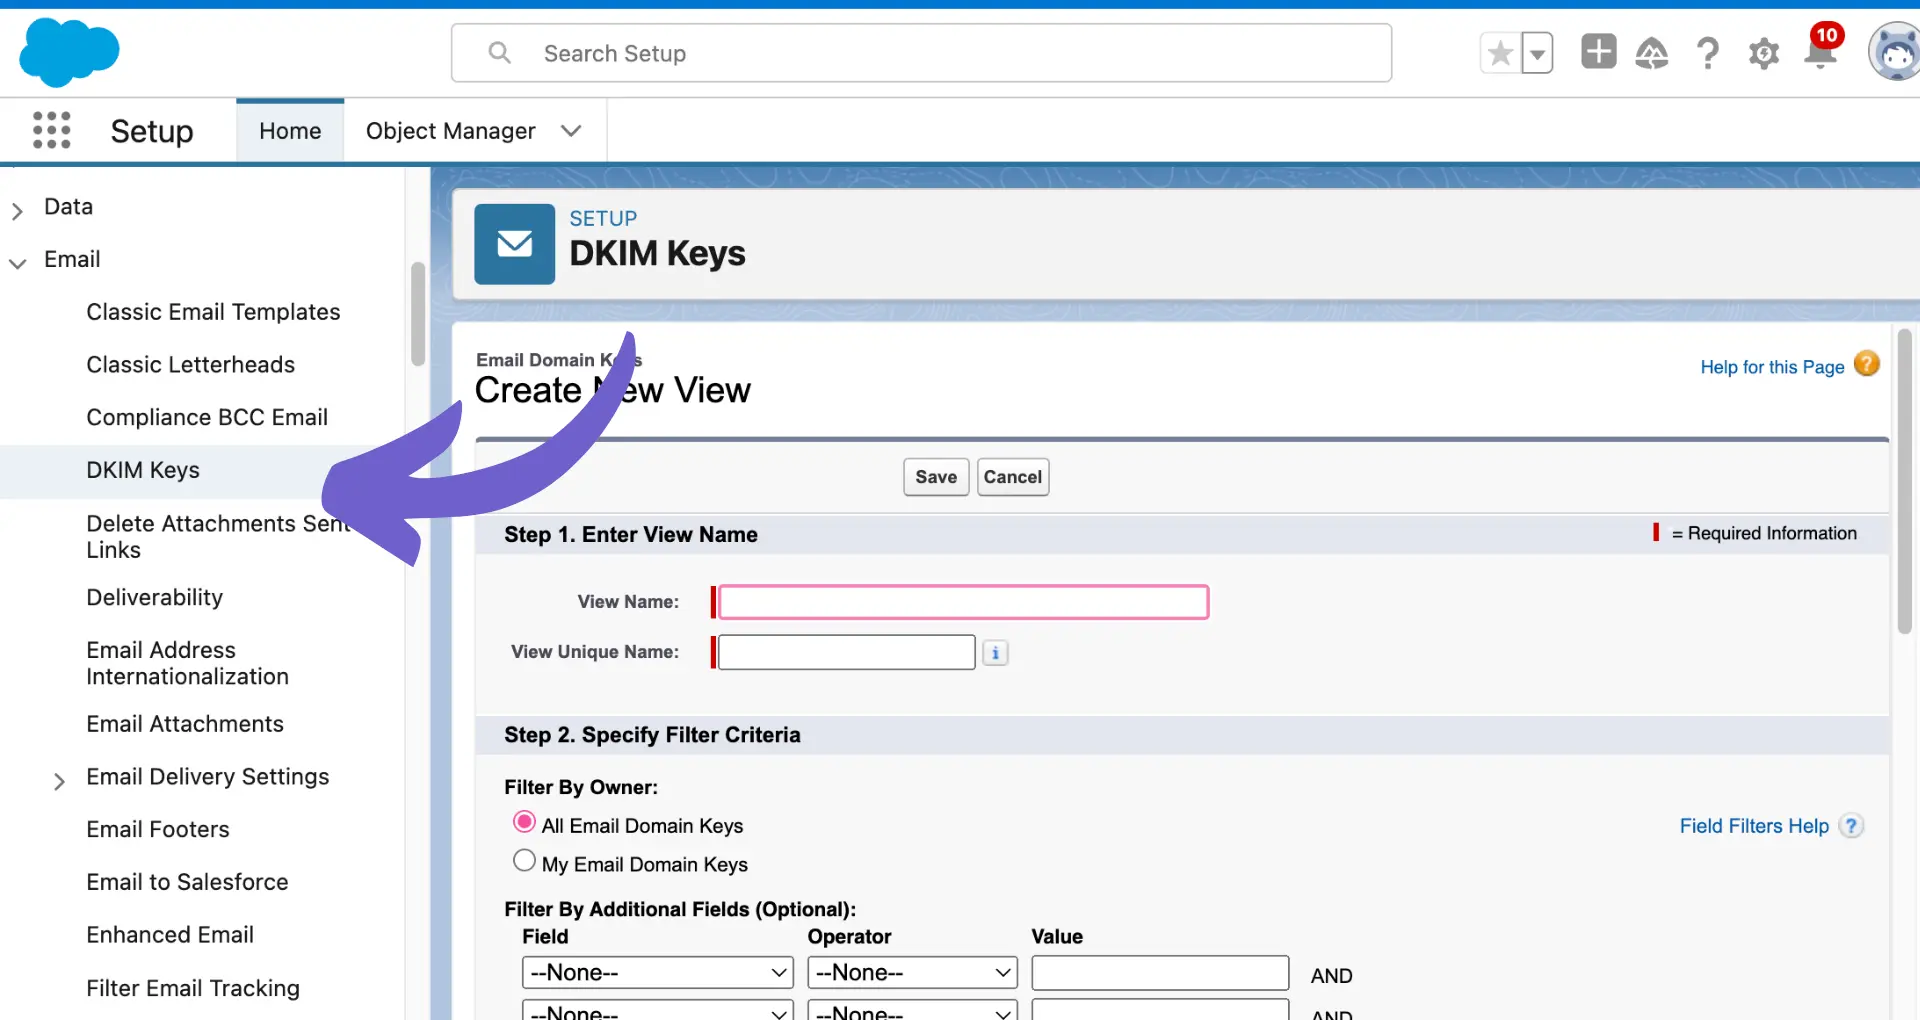
It's crucial to ensure that your "Deliverability" settings allow for outbound emails. To check this:
Go to Setup > Email > Deliverability.
Make sure that "Access Level" is set to "All email" or "System email only."
If necessary, click "Edit" to change the access level.
Once you've completed these steps, Salesforce will be able to send emails through your integrated Gmail or Office 365 account. Keep in mind that you may need to work with your IT department to ensure that your email service provider allows for this integration and to troubleshoot any potential issues with email deliverability.
Personalizing Email Settings in Salesforce
Salesforce allows users to personalize their email settings to match their preferences and maintain brand consistency. Here's how you can customize your email experience with AI:
Setting Up Email Templates
Navigate to Setup > Communication Templates > Email Templates.
Click "New Template" to create a new email template or "Edit" to modify an existing one.
Choose a template type (e.g., text, HTML, custom), enter a name and description, and compose your email content.
Save the template for future use.
Creating Email Signatures
Go to Setup > Email > My Email Settings.
Under "Email Signature," click "Edit."
Compose your email signature using the rich text editor or by inserting an HTML snippet.
Save time on email personalization with Bardeen. Use AI to draft emails for Salesforce contacts in seconds.
Sending Individual and Mass Emails from Salesforce
Salesforce enables you to send individual and mass emails directly from the platform, streamlining your email communication process. Here's how to send emails using Salesforce with Gmail or Office 365:
Sending Individual Emails
Navigate to the record (e.g., Contact, Lead, or Account) you want to email.
Click the "Send Email" button or select "Send Email" from the Actions menu.
Personalize the email content using merge fields, if desired.
Choose your email settings, such as the sender's name and reply-to address.
Preview and send your mass email.
When sending mass emails, be sure to adhere to Salesforce's email limits and comply with anti-spam regulations. By leveraging Salesforce's email capabilities, you can efficiently communicate with your contacts and leads while maintaining a record of your interactions within the platform.
Automating Email Processes with Salesforce Workflows
Salesforce workflows are powerful tools that allow you to automate email sending based on specific triggers or conditions. By setting up automated email workflows, you can save time and ensure that important communications are sent promptly and consistently.
How Salesforce Workflows Automate Email Sending
Salesforce workflows can be configured to send emails automatically when certain criteria are met, such as:
When a new lead or contact is created
When a record is updated with specific values
When a task or event is completed
When a date or milestone is reached
Setting Up Automated Email Workflows
Navigate to Setup > Process Automation > Workflow Rules.
Click "New Rule" and select the object that will trigger the email.
Define the criteria that will trigger the email, such as field values or date ranges.
Choose the "Email Alert" action and select or create an email template.
Specify the recipients, which can include users, contacts, leads, or specific email addresses.
Activate the workflow rule.
Once your automated email workflow is set up, Salesforce will send the specified email whenever the defined criteria are met. This helps to streamline your email communications and ensures that important messages are delivered promptly, without manual intervention.
Monitoring and Analyzing Email Performance in Salesforce
Salesforce provides a range of tools and metrics to help you monitor and analyze the performance of your sent emails. By accessing and interpreting email logs and reports, you can gain valuable insights to improve your email strategies and outcomes.
Email Tracking Metrics in Salesforce
Within Salesforce, you can track key email performance metrics, such as:
Open rates: The percentage of recipients who opened your email
Click-through rates (CTR): The percentage of recipients who clicked on links within your email
Bounce rates: The percentage of emails that were undeliverable
Unsubscribe rates: The percentage of recipients who opted out of future emails
Accessing Email Logs and Reports
Navigate to the Reports tab in Salesforce.
Select the "Email Reports" folder or create a new report using the "Email" report type.
Customize your report to include the desired metrics and filters, such as date range, campaign, or recipient list.
By regularly monitoring and analyzing your email performance metrics, you can make data-driven decisions to optimize your email content, timing, and targeting. This can help you improve engagement, conversions, and overall ROI from your email campaigns within Salesforce.
SOC 2 Type II, GDPR and CASA Tier 2 and 3 certified — so you can automate with confidence at any scale.
Frequently asked questions
What is Bardeen?
Bardeen is an automation and workflow platform designed to help GTM teams eliminate manual tasks and streamline processes. It connects and integrates with your favorite tools, enabling you to automate repetitive workflows, manage data across systems, and enhance collaboration.
What tools does Bardeen replace for me?
Bardeen acts as a bridge to enhance and automate workflows. It can reduce your reliance on tools focused on data entry and CRM updating, lead generation and outreach, reporting and analytics, and communication and follow-ups.
Who benefits the most from using Bardeen?
Bardeen is ideal for GTM teams across various roles including Sales (SDRs, AEs), Customer Success (CSMs), Revenue Operations, Sales Engineering, and Sales Leadership.
How does Bardeen integrate with existing tools and systems?
Bardeen integrates broadly with CRMs, communication platforms, lead generation tools, project and task management tools, and customer success tools. These integrations connect workflows and ensure data flows smoothly across systems.
What are common use cases I can accomplish with Bardeen?
Bardeen supports a wide variety of use cases across different teams, such as:
Sales: Automating lead discovery, enrichment and outreach sequences. Tracking account activity and nurturing target accounts.
Customer Success: Preparing for customer meetings, analyzing engagement metrics, and managing renewals.
Revenue Operations: Monitoring lead status, ensuring data accuracy, and generating detailed activity summaries.
Sales Leadership: Creating competitive analysis reports, monitoring pipeline health, and generating daily/weekly team performance summaries.