Adding dropdown options to your HubSpot forms can help you collect more specific and structured data from your leads. In this step-by-step guide, we'll walk you through the process of setting up dropdown fields in your HubSpot forms, from accessing the form editor to customizing the options and implementing advanced features like conditional logic. By the end of this guide, you'll have the knowledge and skills to create dynamic, user-friendly forms that capture the information you need to nurture your leads effectively.
Initial Setup: Accessing Form Editor in HubSpot
To get started with adding dropdown options to your HubSpot form, you'll first need to access the form editor. Navigate to the "Marketing" tab in your HubSpot account, then click on "Lead Capture" and select "Forms". From here, you can either choose an existing form to edit or create a new form from scratch.
If you're working with an existing form, simply click on the form name to open it in the editor. If you're creating a new form, click the "Create form" button and select the type of form you want to create, such as a regular form or a pop-up form.
Once you have your form open in the editor, you're ready to start adding dropdown fields and customizing their options to suit your needs. For more tips on sales prospecting tools and other helpful features, check out our guide. In the next section, we'll guide you through the process of adding dropdown fields to your form step-by-step.
Adding Dropdown Fields to Your Form
Now that you've accessed the form editor, it's time to add dropdown fields to your form. To do this, simply select 'Dropdown select' from the field options in the form editor. This will create a new dropdown field that you can customize to fit your needs.
When adding a dropdown field, it's important to give it a clear and descriptive name. This not only helps you identify the field when reviewing form submissions, but also ensures that the data collected is properly categorized and easily accessible for reporting purposes. You can also automate data enrichment to keep your dropdown options updated.
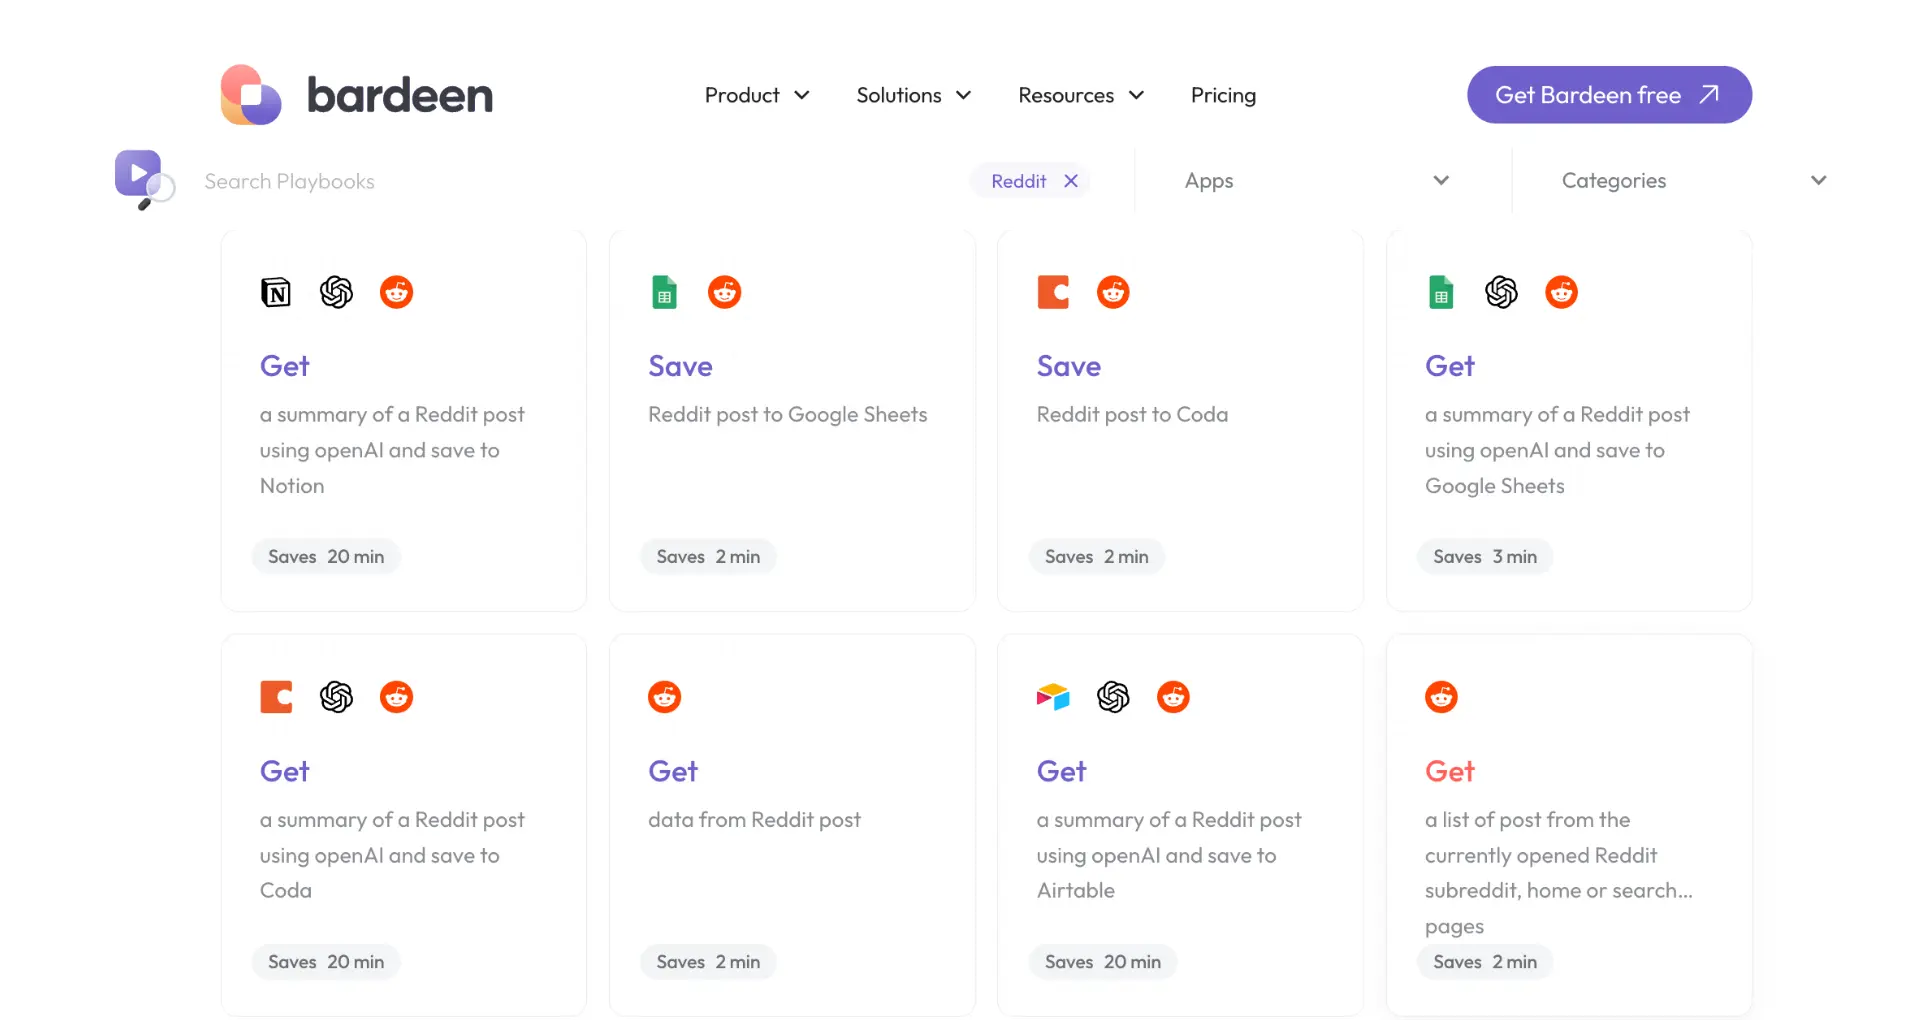
Boost your productivity by using Bardeen to scrape data from websites and automatically update your forms with the latest options.
To name your dropdown field:
- Click on the dropdown field in the form editor to open its settings.
- In the 'Field label' box, enter a name that accurately describes the information being collected (e.g., "Product Interest" or "Job Title").
- If desired, you can also add help text to provide additional context or instructions for the user.
By taking the time to thoughtfully name your dropdown fields, you'll be setting yourself up for success when it comes to organizing and analyzing the data collected through your HubSpot form.
Customizing Dropdown Options in HubSpot
Once you've added a dropdown field to your form, it's time to customize the options available to your users. This step is crucial for ensuring that you collect relevant and accurate data. For more insights on enhancing your sales processes with detailed data, learn about lead enrichment.
To add individual dropdown options:
- Click on the dropdown field in the form editor to open its settings.
- In the 'Field options' section, click 'Add option' to create a new dropdown choice.
- Enter the label for the option in the text field that appears.
- Repeat steps 2-3 for each additional option you want to include.
If you need to set a default value for your dropdown, simply click the radio button next to the desired option.
To remove an existing dropdown option, hover over it and click the 'Remove' button. To edit an option, click the pencil icon next to its label and make your changes.
Remember to regularly review and update your dropdown options to keep them relevant and in line with your data collection needs. This will help maintain the integrity of your form's data and make it easier to analyze and report on. For more tips, check out our guide on automating sales prospecting.
Adding Dropdown Fields to Your Form
Adding a dropdown field to your HubSpot form is a straightforward process. To get started, navigate to the form editor and follow these steps:
- In the left sidebar, locate the 'Fields' section and click on 'Dropdown select' to add a new dropdown field to your form.
- Click on the newly added dropdown field to open its settings.
- Enter a label for the dropdown field in the 'Field label' text box. This label will be visible to users and should clearly describe the purpose of the dropdown.
- If needed, add help text in the 'Field help text' box to provide additional context or instructions for users.
Naming your dropdown field is crucial for effective data collection and reporting. Use clear, concise labels that accurately represent the information being collected. This will make it easier to analyze and segment your data later on.
Remember, the name you choose for your dropdown field will also be used as the property name in your HubSpot CRM. Consistent naming conventions across your forms and properties will help maintain a clean and organized database. For more tips on improving your sales process, check out automating sales prospecting.
Save time and focus on important work by using Bardeen to automate enrichment and other tasks.
Advanced Dropdown Settings: Conditional Logic and Dependency
HubSpot's conditional logic feature allows you to create dynamic and context-driven user experiences within your forms. By setting up conditional logic, you can show or hide dropdown fields based on a user's answers to other form fields. This enhances the form's interactivity and relevance, ensuring that users only see and interact with fields that are pertinent to their specific situation.
To set up conditional logic for your dropdown fields, follow these steps:
- In the form editor, click on the dropdown field you want to apply conditional logic to.
- In the field settings, navigate to the 'Logic' tab.
- Under 'Visibility rules', select the criteria that will determine when the dropdown field should be shown or hidden. For example, you can choose to show the dropdown only if a specific question is answered in a certain way.
- Save your changes and test your form to ensure the conditional logic is working as intended.
In addition to conditional logic, you can also set up dependencies between dropdown fields. This means that the options available in one dropdown will change based on the user's selection in another dropdown. Setting up dropdown dependencies creates a more streamlined and efficient user experience, as it eliminates irrelevant options and guides users through the form in a logical manner.
To create dropdown dependencies, follow these steps:
- In the form editor, click on the dropdown field that will have its options determined by another dropdown.
- In the field settings, navigate to the 'Options' tab.
- Click on 'Add dependency' and select the controlling dropdown field.
- Map out which options should be available in the dependent dropdown based on each possible selection in the controlling dropdown.
- Save your changes and test the form to ensure the dropdown dependencies are functioning correctly.
By leveraging conditional logic and dropdown dependencies, you can create HubSpot forms that are more engaging, relevant, and user-friendly. These advanced settings allow you to tailor the form experience to each individual user, improving the quality of the data you collect and increasing form completion rates.
Best Practices for Dropdown Fields in HubSpot Forms
When creating dropdown fields in your HubSpot forms, it's essential to optimize them for the best user experience. By following these best practices, you can ensure that your forms are user-friendly and effective in collecting the data you need.
- Limit the number of options in your dropdown fields. Having too many options can overwhelm users and lead to form abandonment. Aim to keep the number of options between 5 and 7 for optimal usability.
- Group related options together to make it easier for users to find the most relevant choice. For example, if you have a dropdown for "Industry," consider grouping similar industries together, such as "Healthcare" and "Pharmaceuticals."
- Use clear and concise labels for your dropdown options. Avoid using jargon or technical terms that may confuse users. Instead, opt for simple, easy-to-understand language that accurately describes each option.
- Set a default value for your dropdown fields when appropriate. This can help users complete the form more quickly and ensure that you receive the necessary information.
In addition to optimizing the user experience, it's crucial to regularly update your dropdown options to reflect changes in your data or business structure. As your organization evolves, your form fields should adapt to capture the most relevant information.
To keep your dropdown fields up-to-date, consider the following:
- Review your dropdown options periodically to ensure they are still relevant and accurate. Remove any outdated options and add new ones as needed.
- Collaborate with other teams, such as sales and customer service, to identify any changes in customer preferences or industry trends that may impact your dropdown options.
- Monitor form submissions to identify any common themes or patterns in the data that may suggest a need for new dropdown options or the removal of existing ones.
By regularly updating your dropdown fields, you can ensure that your HubSpot forms continue to collect high-quality, relevant data that supports your business goals.
Use Bardeen's automated playbooks to keep your forms current effortlessly. Save time and improve accuracy by automating updates.


