Are you tired of juggling between Zoom and Outlook for your virtual meetings? Integrating Zoom with Outlook can save you time and hassle. In this step-by-step guide, you'll learn how to add Zoom to Outlook, both manually and using AI automation tools like Bardeen. Discover the benefits of streamlining your meeting workflow and never miss a virtual appointment again. Whether you're a busy professional or just looking to simplify your life, this guide has got you covered. Get ready to master the art of Zoom-Outlook integration and take your productivity to the next level!
Installing the Zoom for Outlook Add-in: A Step-by-Step Guide
To add Zoom to Outlook and easily schedule Zoom meetings from your Outlook calendar, you'll need to install the Zoom for Outlook add-in. Here's a step-by-step guide on how to get the add-in set up, including prerequisites, installation instructions, and troubleshooting tips.
1. Check the Prerequisites
Before installing the Zoom for Outlook add-in, make sure you meet these requirements:
- Have a Zoom account. If you don't have one, sign up for free at zoom.us.
- Use a compatible version of Outlook, such as Outlook for Microsoft 365, Outlook 2019, Outlook 2016, or Outlook on the web.
- Ensure you have the necessary permissions to install add-ins in Outlook. If you get an error during installation, contact your IT admin for assistance.
2. Download and Install the Add-in
Follow these steps to get the Zoom for Outlook add-in:
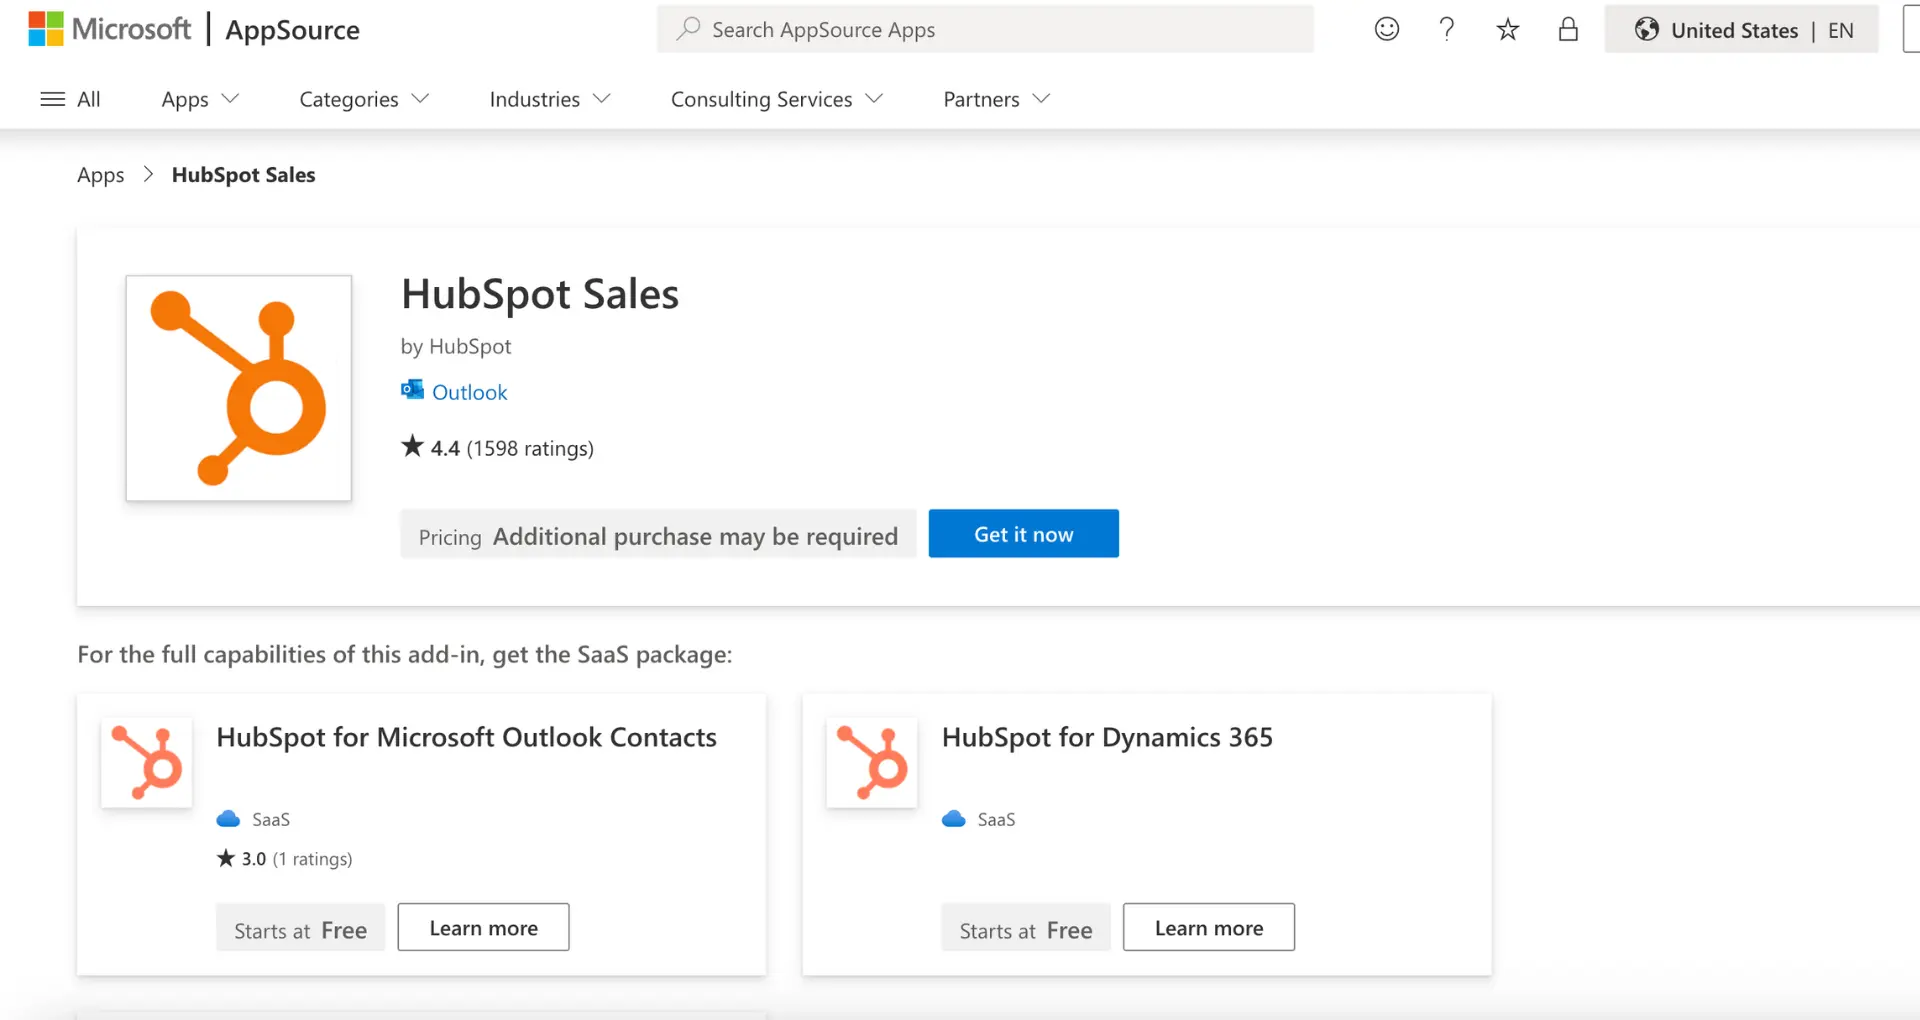
- Go to the Microsoft AppSource or Zoom Marketplace and search for "Zoom for Outlook".
- Click "Get It Now" to start the installation process.
- Review the add-in details and permissions, then click "Continue".
- When prompted, sign in with your Outlook account to complete the installation.
- The add-in will now appear in Outlook. Look for the Zoom icon in the ribbon when composing a new event.
3. Troubleshoot Common Issues
If you run into problems during installation, try these solutions:
- Make sure Outlook is closed completely before running the installer.
- After installation, restart Outlook for the changes to take effect.
- Check that your Outlook version and operating system are supported by the add-in.
- If the Zoom icon is missing, go to Outlook Options > Add-ins and enable the Zoom add-in.
With the Zoom for Outlook add-in installed, you're ready to start scheduling Zoom meetings right from your Outlook calendar. The add-in makes it easy to add Zoom details to new or existing events, saving you time and effort.
In the next section, we'll cover the basics of scheduling Zoom meetings in Outlook and walk through the available options to customize your meeting settings. You'll learn how to generate Zoom links, require registration, set up recurring meetings, and more - all without leaving your Outlook calendar.
Scheduling Zoom Meetings in Outlook: A Quick Guide
The Zoom for Outlook add-in makes it easy to schedule and customize Zoom meetings right from your Outlook calendar. You can access Zoom settings, require meeting passcodes, enable waiting rooms, and set up recurring meetings without leaving Outlook. Here's a quick guide on scheduling Zoom meetings in Outlook.
1. Access Zoom Options in Outlook
To schedule a Zoom meeting in Outlook:
- Create a new calendar event and click the Zoom button.
- Sign in with your Zoom account if prompted.
- The Zoom sidebar will open, where you can adjust the meeting settings.
- Click "Add Zoom Meeting" to generate the Zoom link and add it to the calendar invite.
Note: Make sure to set the date and time of the event before adding the Zoom meeting to ensure it's scheduled correctly.
2. Configure Meeting Settings
In the Zoom sidebar, you can customize the meeting options:
- Require meeting passcode to enhance security
- Enable waiting room to admit participants individually
- Choose to record the meeting automatically
- Select video and audio settings for host and participants
- And more!
These settings will default to your preferences in the Zoom web portal but can be changed for individual meetings as needed. Click "Settings" to review and adjust the options.
3. Create Recurring Zoom Meetings
For recurring events, Zoom meetings can be set up to occur on the same schedule. Just create a recurring event in Outlook and add your Zoom meeting. All occurrences will have the same Zoom meeting ID and settings.
To edit a single occurrence, open that event and click "Change settings for this occurrence". You can also save your settings as a new template for future meetings.
With the Zoom add-in for Outlook, you have convenient access to all the Zoom features you need to schedule and customize meetings. Whether it's a one-time event or a recurring meeting series, Zoom and Outlook work together seamlessly to enhance your scheduling workflow.
Save time managing your meetings. Learn how to best practices for managing your Zoom meetings with Bardeen.
Up next - learn best practices for managing your Zoom meetings in Outlook, like quickly starting an instant meeting, editing existing meetings, and handling scheduling conflicts with ease.
Managing Zoom Meetings from Outlook
The Zoom for Outlook add-in makes it simple to manage your scheduled Zoom meetings right from your Outlook calendar. You can quickly start an instant meeting, edit existing meetings to update settings or add/remove attendees, and avoid scheduling conflicts with the busy/free time sync between Zoom and Outlook. Here's how to take control of your Zoom meetings in Outlook.
1. Start Instant Meetings from Outlook
Need to start an impromptu discussion with a colleague? You can launch an instant Zoom meeting directly from an Outlook email conversation:
- Open the email thread and click the Zoom button that appears above the message.
- Select "Start Instant Meeting".
- Choose your video and audio preferences, then click "Start Meeting".
- The Zoom meeting will launch and the other participants in the email will receive a link to join.
This is perfect for quick discussions or to transition from an email conversation to a face-to-face meeting without needing to schedule it in advance. The instant meeting will use your default Zoom settings.
2. Edit Scheduled Zoom Meetings
Plans change and meetings evolve. You can easily edit a scheduled Zoom meeting from the calendar event in Outlook:
- Open the calendar event and click "Edit".
- Click the Zoom button, then select "Edit Zoom Meeting".
- Modify the meeting options like requiring a passcode, enabling the waiting room, or automatic recording.
- Update the calendar invitation details like the date/time, location, or agenda.
- Click "Update" in the Zoom panel to sync the changes, then "Send Update" to notify participants.
All the changes will be reflected in the Zoom meeting details. Meeting invitees will receive an updated calendar invitation with the revised information. You can also cancel the Zoom meeting entirely by selecting "Remove Zoom Meeting" before updating the event.
3. Avoid Scheduling Conflicts
The Zoom add-in for Outlook syncs your availability across both platforms. When viewing Scheduling Assistant in Outlook while creating a calendar event, it will check for conflicts in both your Outlook and Zoom calendars. Zoom meetings scheduled in the Zoom desktop or web app will appear as busy time in Outlook, and vice versa.
This two-way sync helps avoid double-booking yourself or inviting attendees to Zoom meetings that overlap with other commitments on their calendar. You can schedule with confidence, knowing your Zoom and Outlook calendars are always in alignment.
With the ability to start instant meetings, modify scheduled meetings, and prevent scheduling conflicts, the Zoom add-in for Outlook is a powerful tool to manage your Zoom meetings from one central place. You can seamlessly host and update Zoom meetings without ever leaving your Outlook calendar. If you need to automate lead management, check out automated lead generation for streamlining your workflows.
Thanks for sticking with us through this in-depth guide! We covered a lot, but you're now well on your way to being a Zoom-Outlook power user. In the next and final section, we'll recap the key takeaways you learned.
Conclusions
Adding Zoom to Outlook is an important skill that can save you time and simplify meeting scheduling. By integrating these two powerful tools, you can streamline your workflow and stay connected with colleagues and clients. Learn how to connect Microsoft Excel for even more productivity boosts.
- Installing the Zoom for Outlook add-in, including prerequisites, step-by-step installation, and troubleshooting tips
- Scheduling Zoom meetings directly from Outlook, configuring meeting settings, and managing recurring meetings and invitations
- Managing Zoom meetings from Outlook, including starting instant meetings, editing scheduled meetings, and syncing availability to avoid conflicts
By mastering the integration of Zoom and Outlook, you'll become a productivity powerhouse. Don't let clunky scheduling slow you down - automate sales prospecting with these tools today!
Save time and focus on important work by using AI email management to keep your inbox organized without the effort.


